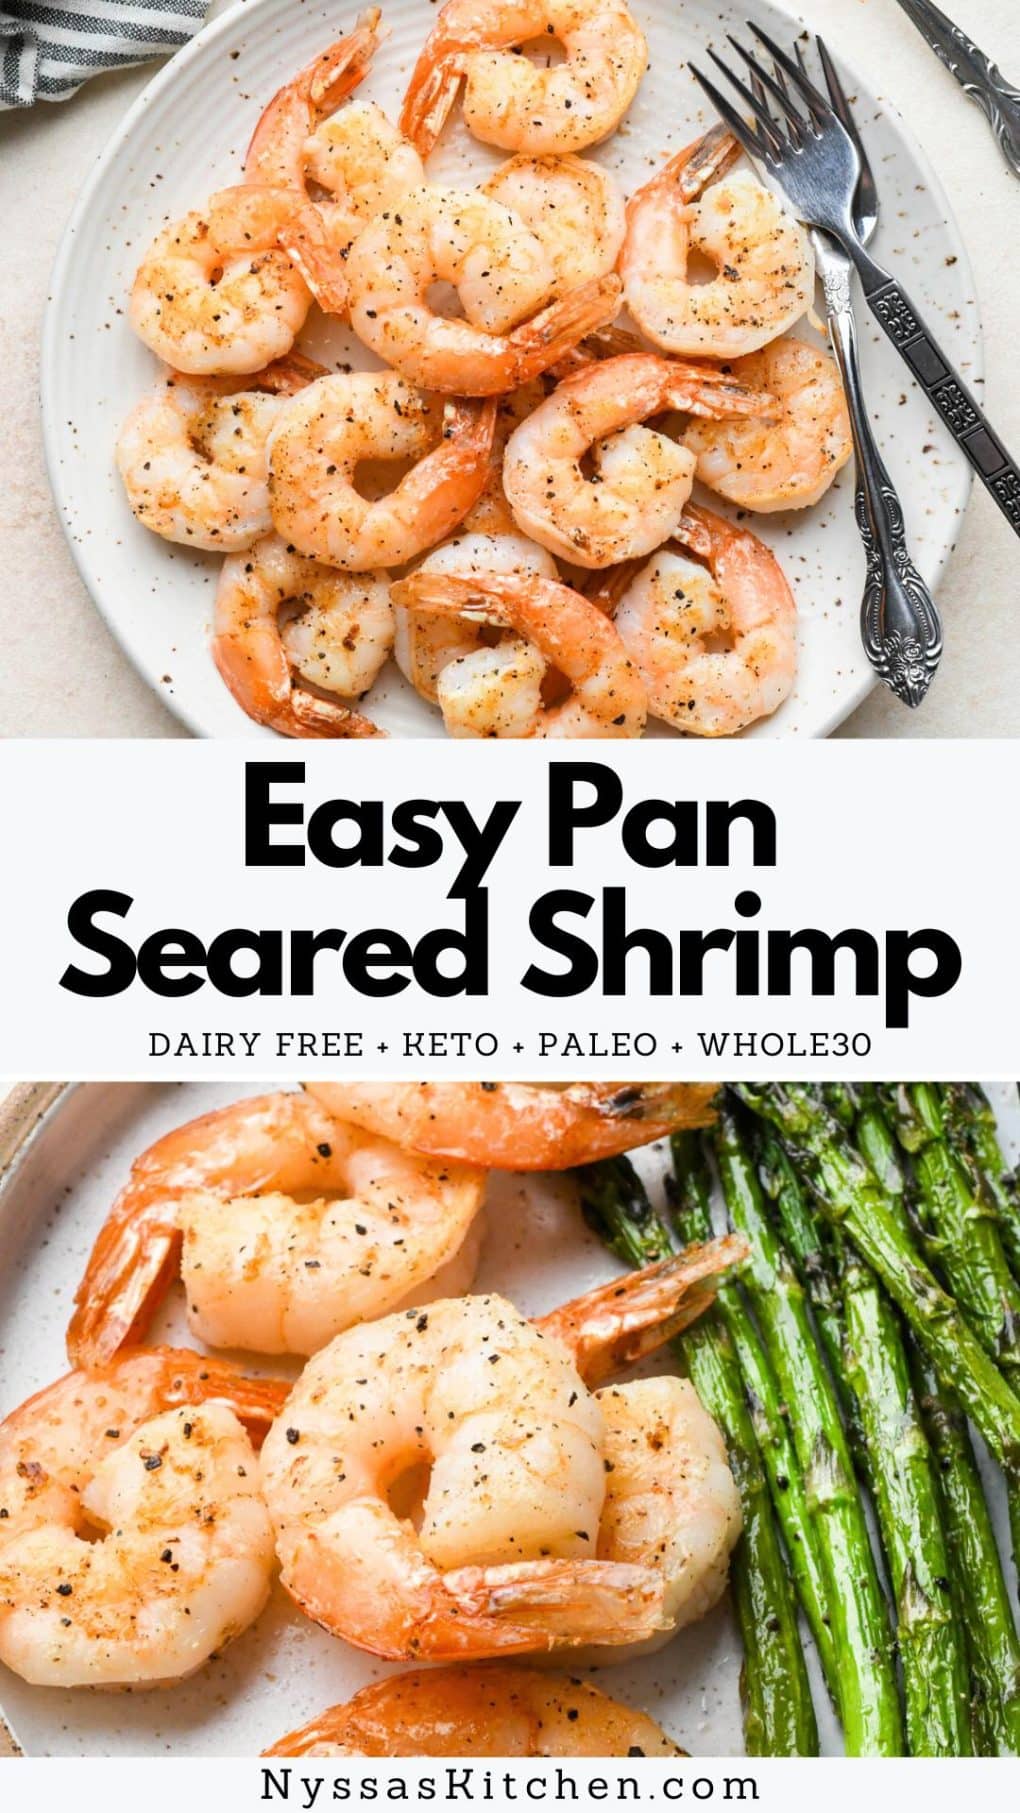
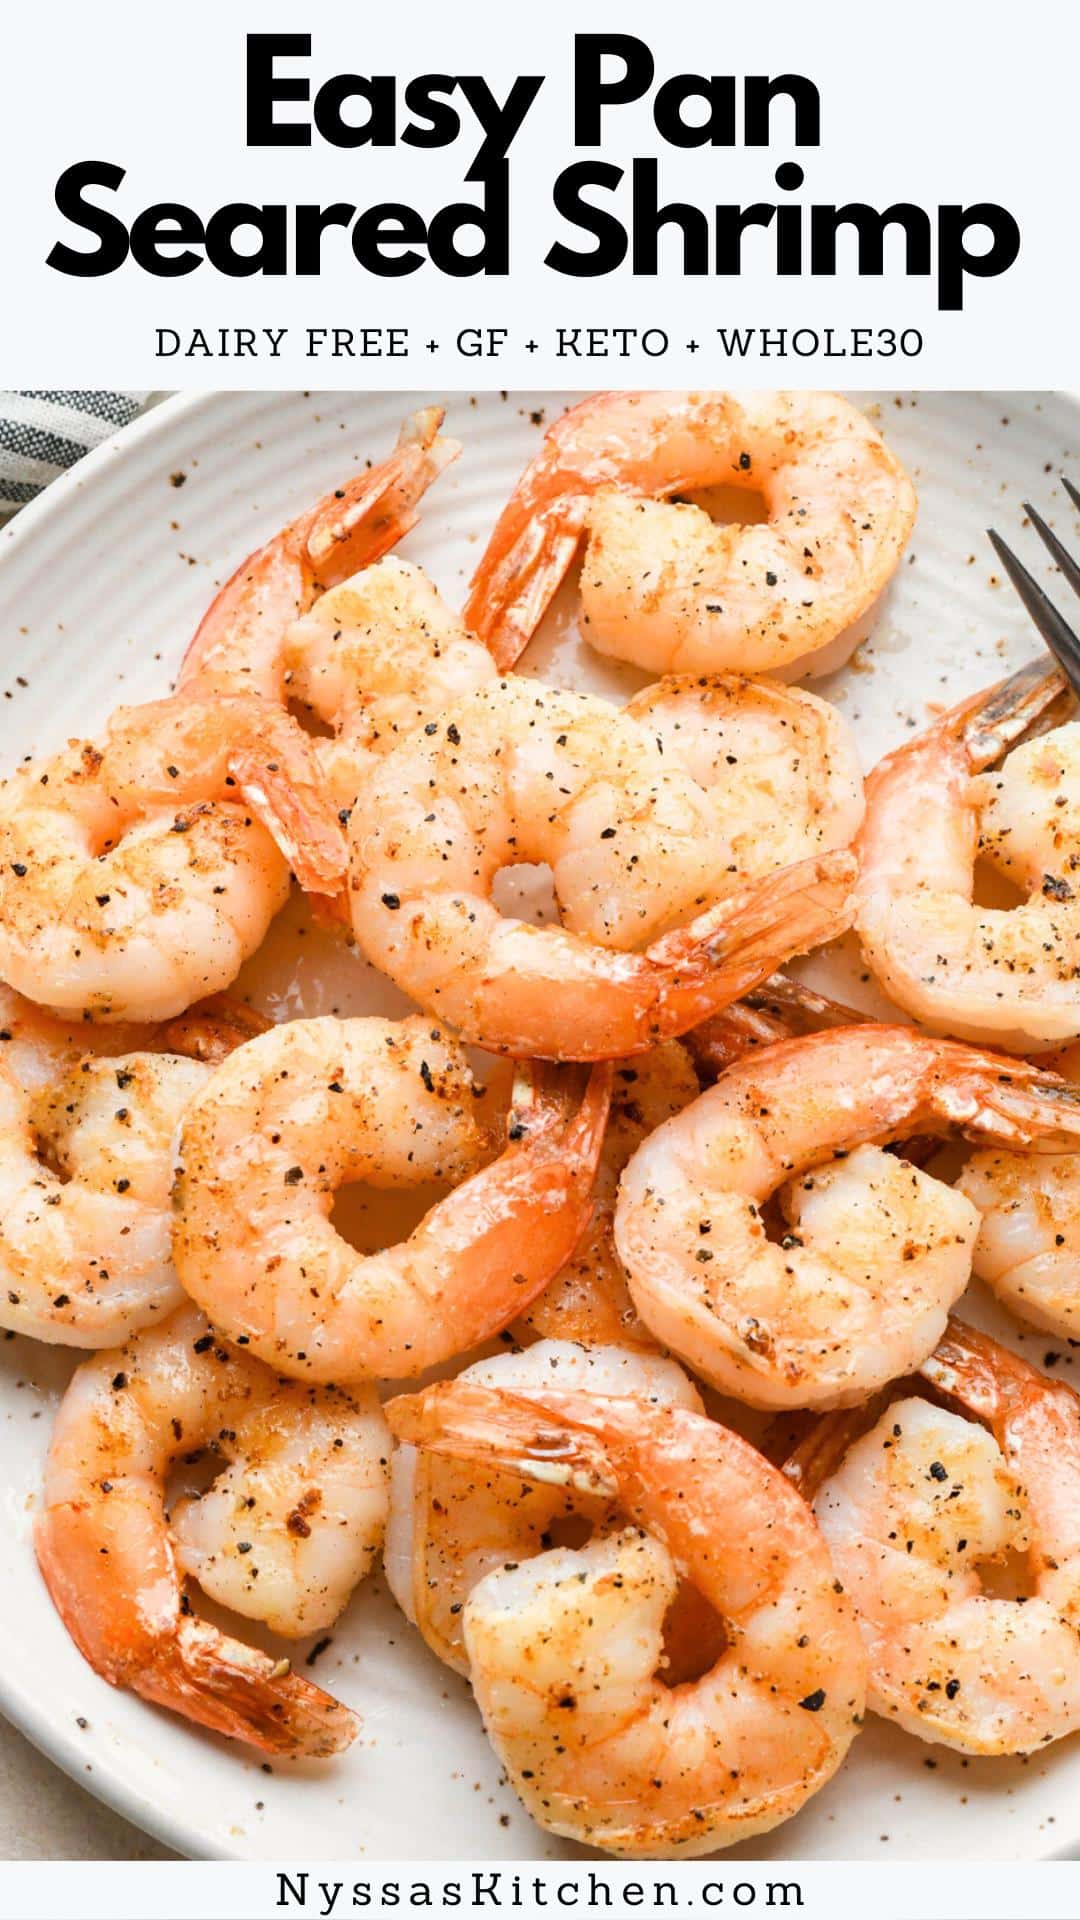
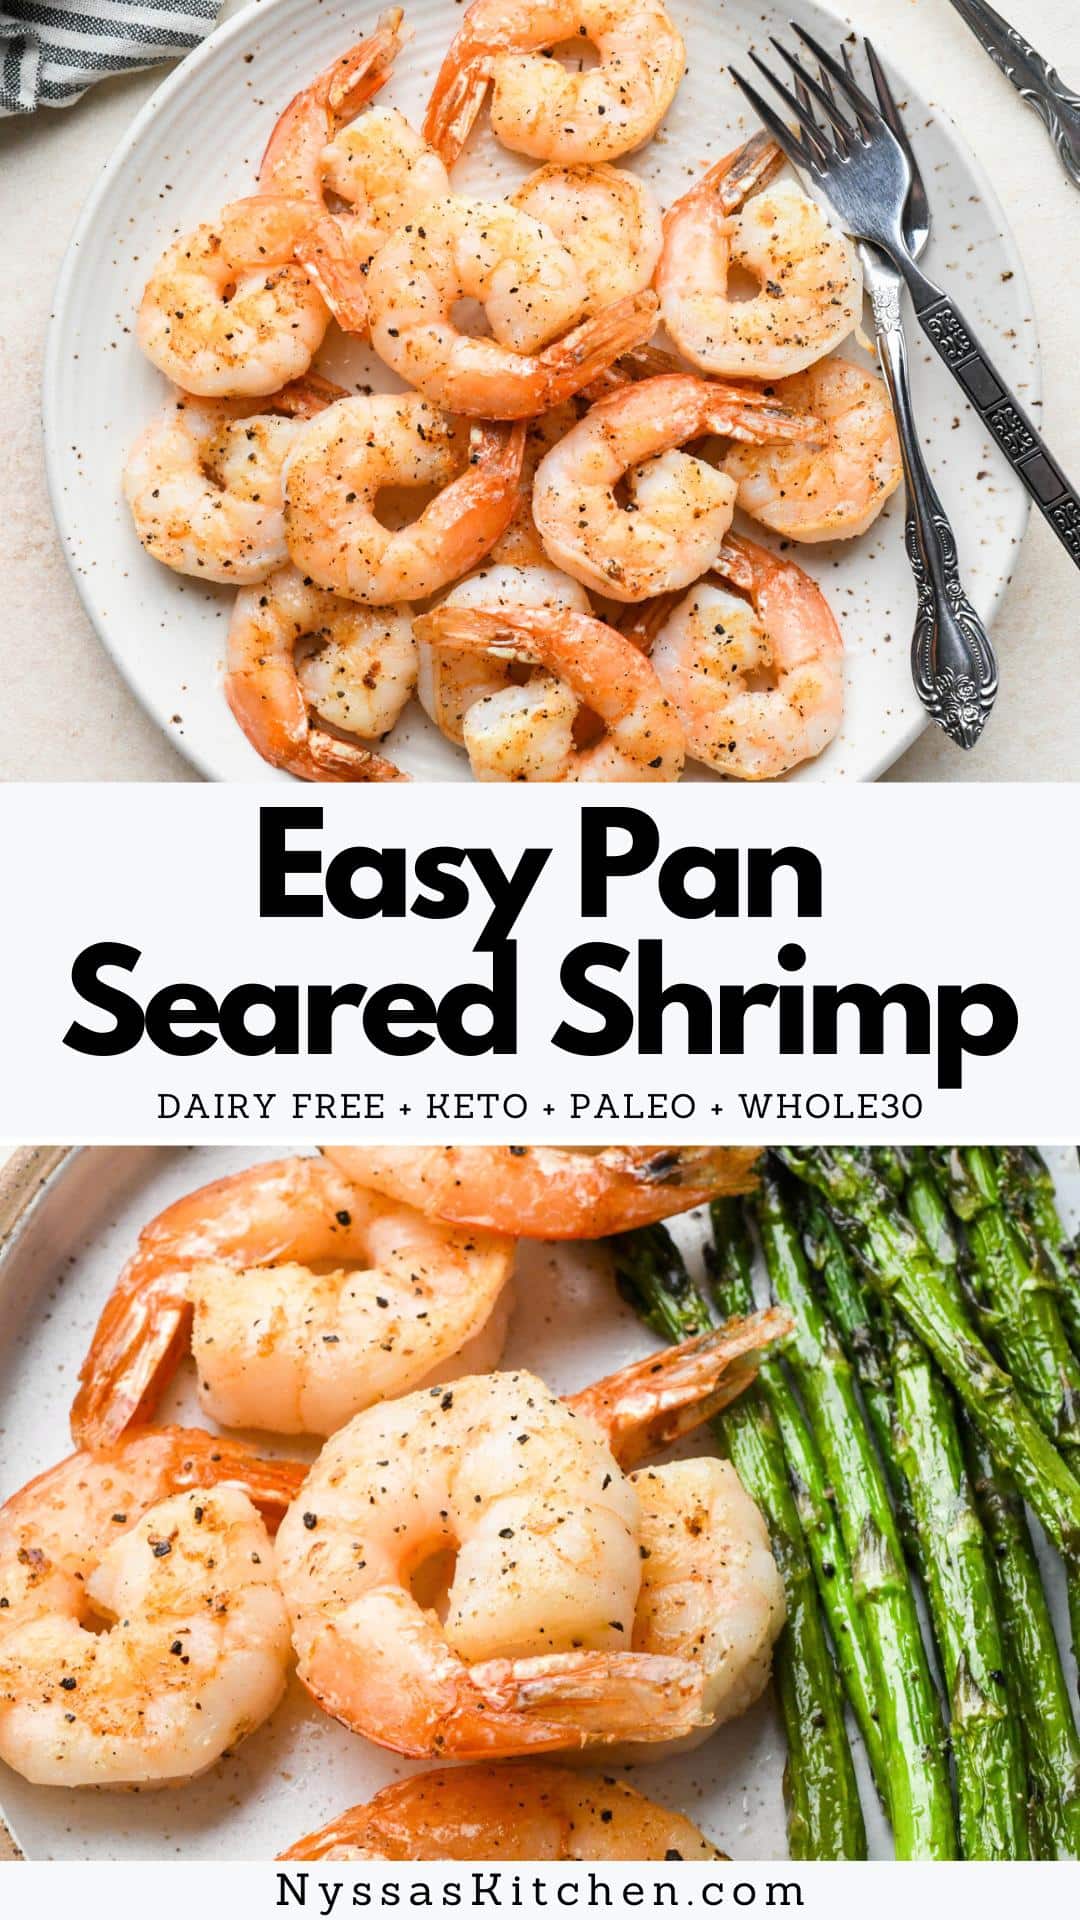
This pan seared shrimp is an easy seafood recipe that will impress your taste buds and dinner guests alike! With just a few simple steps, you can create restaurant-quality seared shrimp at home that is flavorful and foolproof. Ready in just 10 minutes, versatile and perfect for a quick lunch or dinner. Gluten free, dairy free, paleo, Whole30 compatible, and keto friendly.
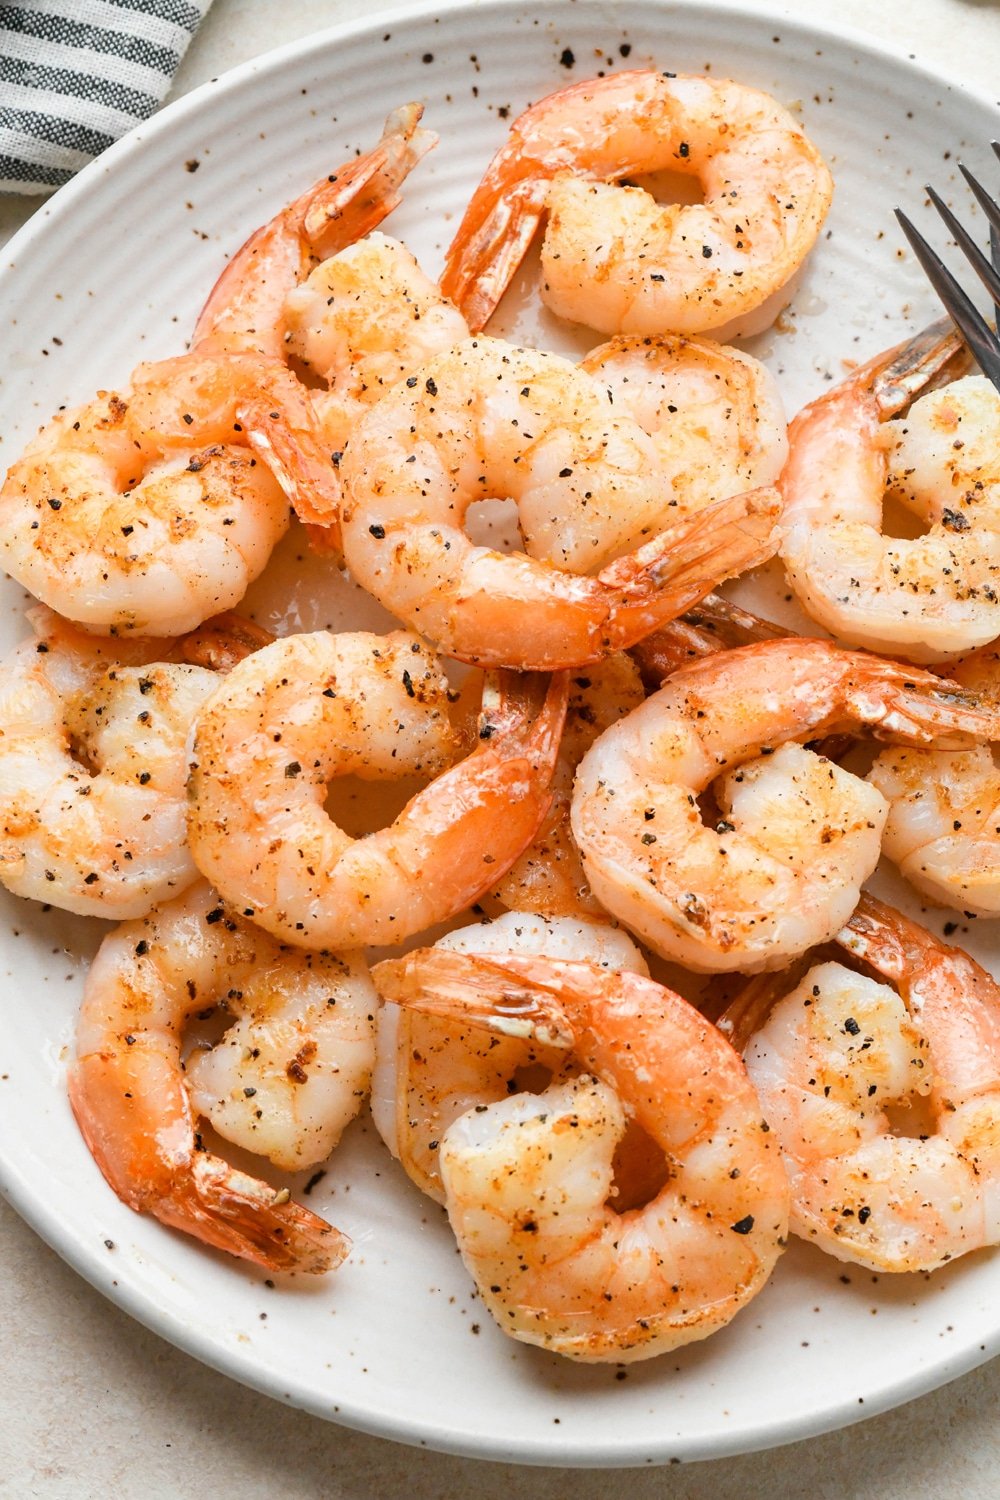
The best pan seared shrimp recipe
If you’re a seafood lover, you know that shrimp is one of the most versatile and delicious options out there.
And (IMO), one of the best ways to prepare shrimp is by pan searing it. Which gives it a slightly crispy exterior and juicy, perfectly cooked interior – YES, PLEASE.
I love a simple shrimp recipe like this one just as much as other variations like our Shrimp Scampi Without Wine, Sautéed Whole30 Cajun Shrimp with Garlic Aioli, Easy Garlic Basil Sautéed Shrimp, and Garlic-Marinated Grilled Shrimp Skewers.
Shrimp is such a fabulous quick and easy option for dinner, lunch, or even dinner party fare.
And there are tons of different ways to season and serve it, which makes it extremely versatile and easily customized to your tastes and mood!
In this blog post, we will guide you through the process of choosing the right shrimp, preparing it for cooking, and creating the perfect seasoning for that delectable crust. We’ll also answer some common questions, including serving suggestions and how to store, freeze, and reheat leftovers.
Recipe features
- Super easy to make: As long as your shrimp is already thawed, this recipe takes less than 10 minutes to prepare – perfect for busy weeknights!
- Incredibly versatile: Pan seared shrimp can be seasoned any way you like and is the perfect addition to salads, tacos, pasta, or a rice bowl.
- These easy shrimp are gluten free, dairy free, paleo friendly, Whole30 compatible, and keto friendly too!
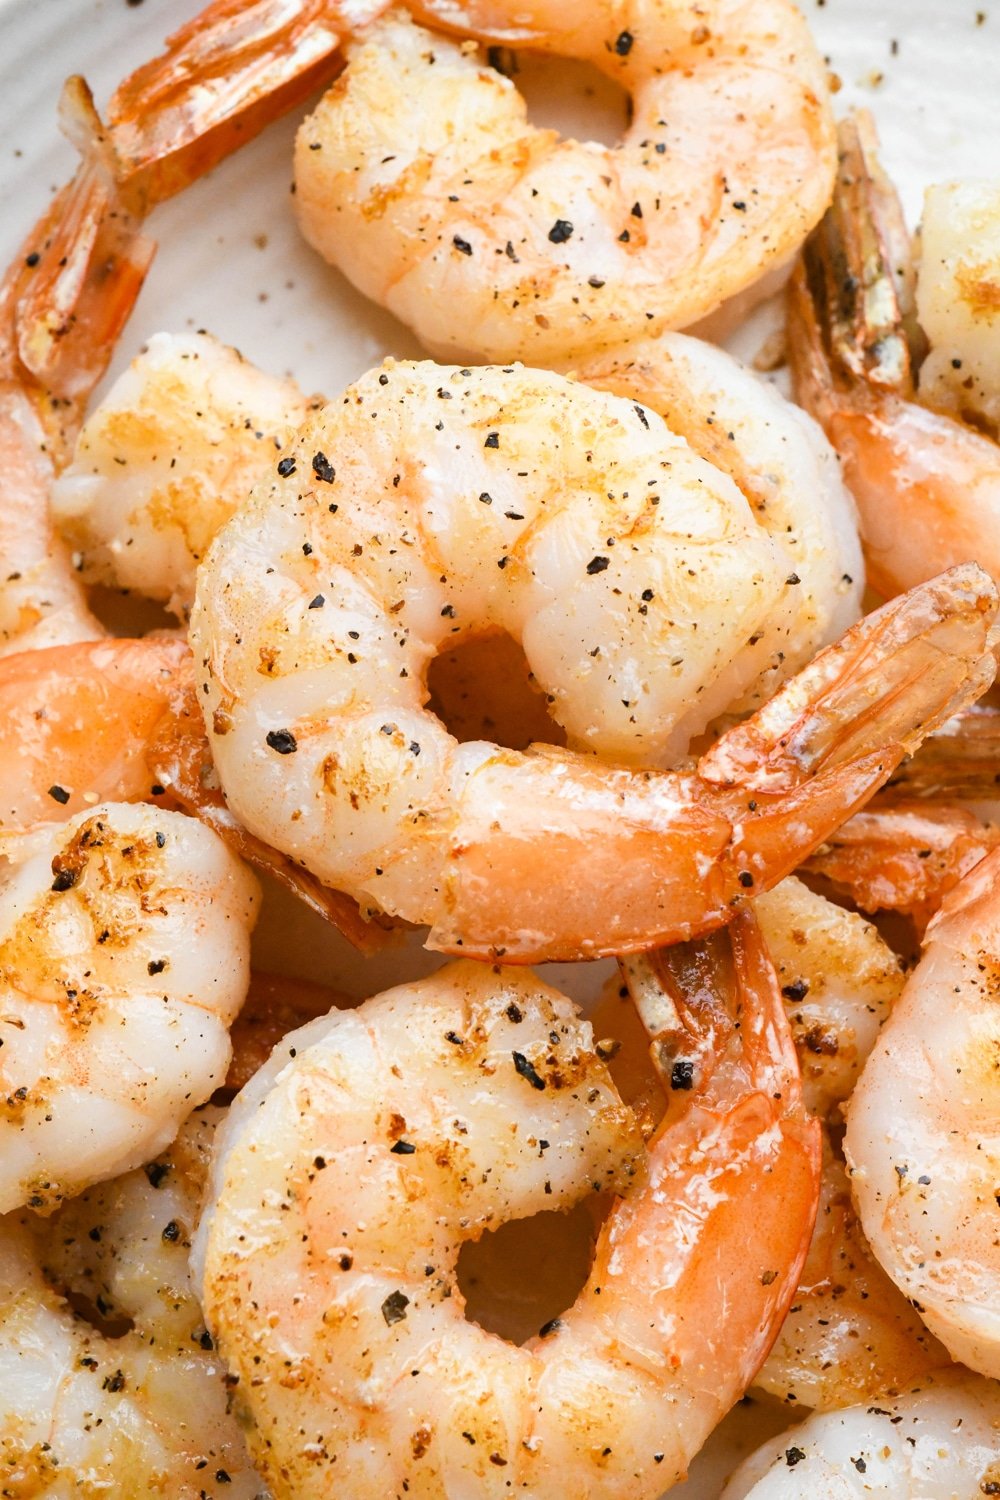
What is pan seared shrimp?
So what exactly is pan seared shrimp?
Pan seared shrimp (sometimes called pan fried shrimp) involves cooking shrimp in a hot, oiled pan until it develops a delicious crust on the outside while remaining tender and moist on the inside.
This cooking method creates an unbeatable flavor and texture and can be used in many types of meals or enjoyed on its own with a side dish or two.
Ingredients and substitutions
You can find the full list of ingredients, along with measurements, in the recipe card below. These are my ingredient notes and recommendations for easy swaps and substitutions!
A few basic ingredients are all it takes to make delicious pan seared shrimp. Here’s what you’ll need:
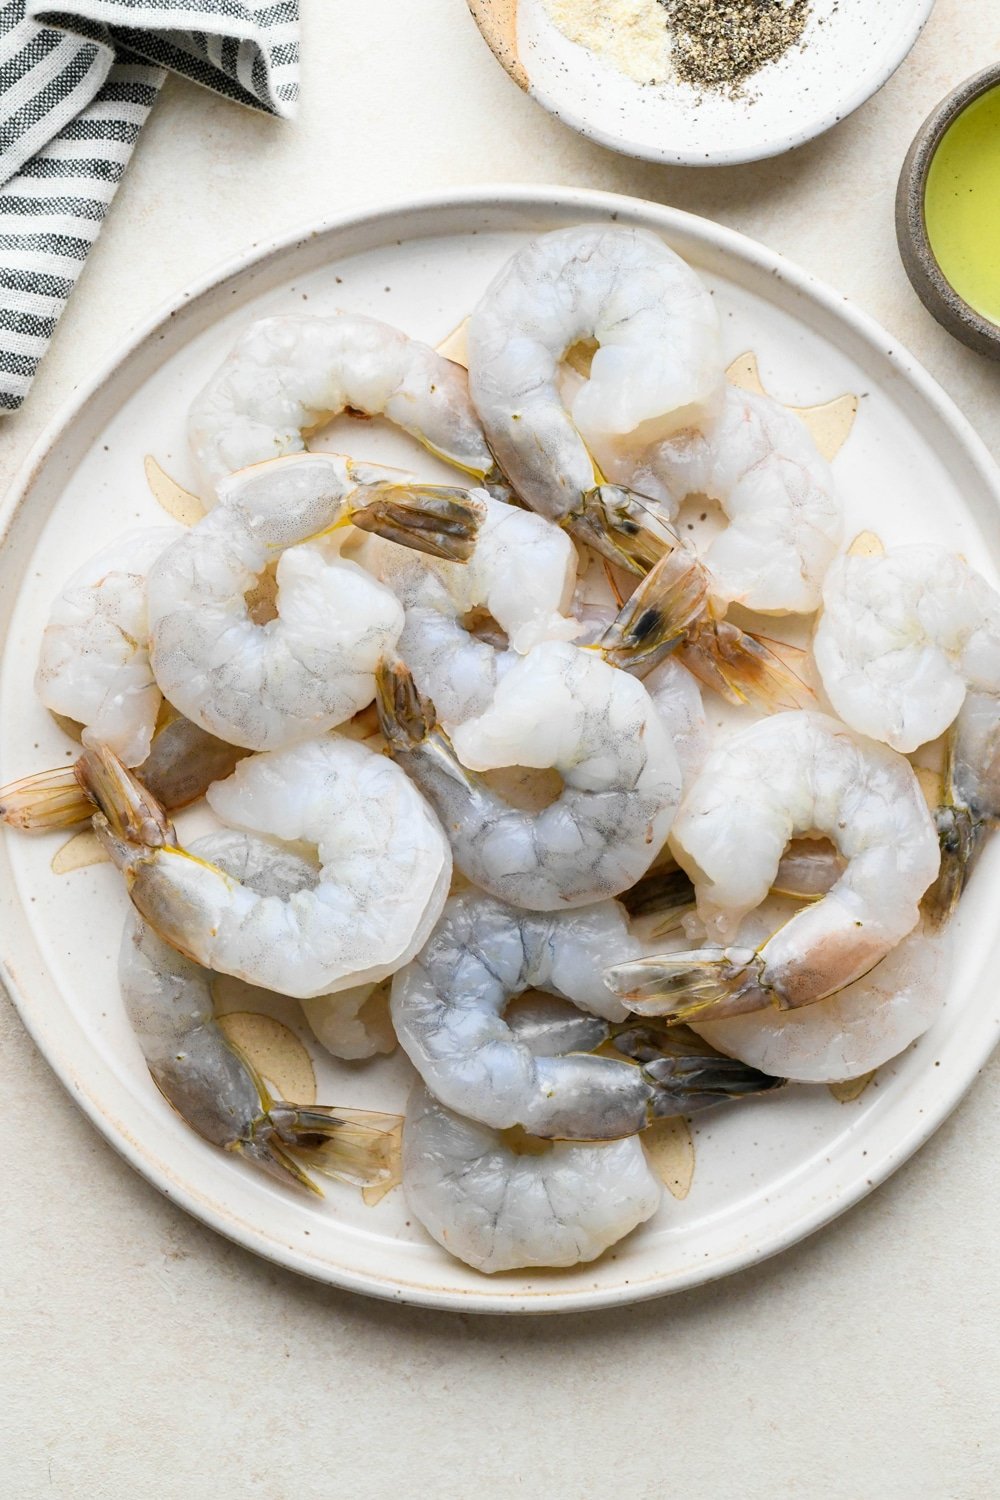
Peeled and deveined jumbo shrimp
When selecting your shrimp, be sure to choose raw, peeled, and deveined shrimp to save time and effort in the kitchen. You can find them at most grocery stores, and they are either sold fresh at the seafood counter or in the freezer section. If buying frozen, be sure to check out the section below for a few methods to thaw shrimp safely!
Olive oil
A high quality olive oil, avocado oil, or ghee are ideal options to use for cooking the shrimp.
Salt and pepper
Season the shrimp to taste with salt and pepper.
Simple seasoning blend
I chose to use a simple blend of garlic powder and onion powder for this recipe. If you want to keep the flavors more neutral, you can skip these and stick to salt and pepper! Or jazz up the flavors by varying the spices to your preference.
Tips for choosing the right shrimp
The type of shrimp you use can make a big difference in the quality of the final dish.
Here are a few things to consider when selecting shrimp for this recipe:
Size: The size of the shrimp will determine how long they take to cook and the texture. Shrimp sizes are measured by number of shrimp per pound. I typically opt for jumbo shrimp (anywhere from 21/35 to 16/20 shrimp per pound), but any size will work for this recipe as long as you adjust the cooking time accordingly.
Freshness: Look for shrimp that smells clean and briny, with firm, translucent flesh free of discoloration or sliminess. Frozen shrimp is a great option if you can’t find any good-looking fresh shrimp. Most fresh shrimp at the seafood counter has been previously frozen anyway, and there are several ways to thaw it quickly at home.
Can I pan sear frozen shrimp
The good news is you can pan sear using frozen shrimp! However, it’s important to thaw them first to ensure even cooking. Luckily, thawing frozen shrimp is simple.
How to thaw frozen shrimp
Cold water method
This method is one of the fastest ways to thaw frozen shrimp.
Place the frozen shrimp in a colander or strainer that fits inside a large bowl. Position bowl under cold, slowly running water for 10-15 minutes. This method works because the cold water keeps the shrimp at a safe temperature while gradually thawing them.
The shrimp is full thawed when no ice crystals remain and it feels soft and bouncy to the touch.
Refrigerator method
Although it takes longer, thawing shrimp in the refrigerator is also a great option.
Simply place the frozen shrimp in a covered container and let it thaw overnight in the refrigerator. This can take up to 24 hours but ensures that the shrimp is adequately thawed.
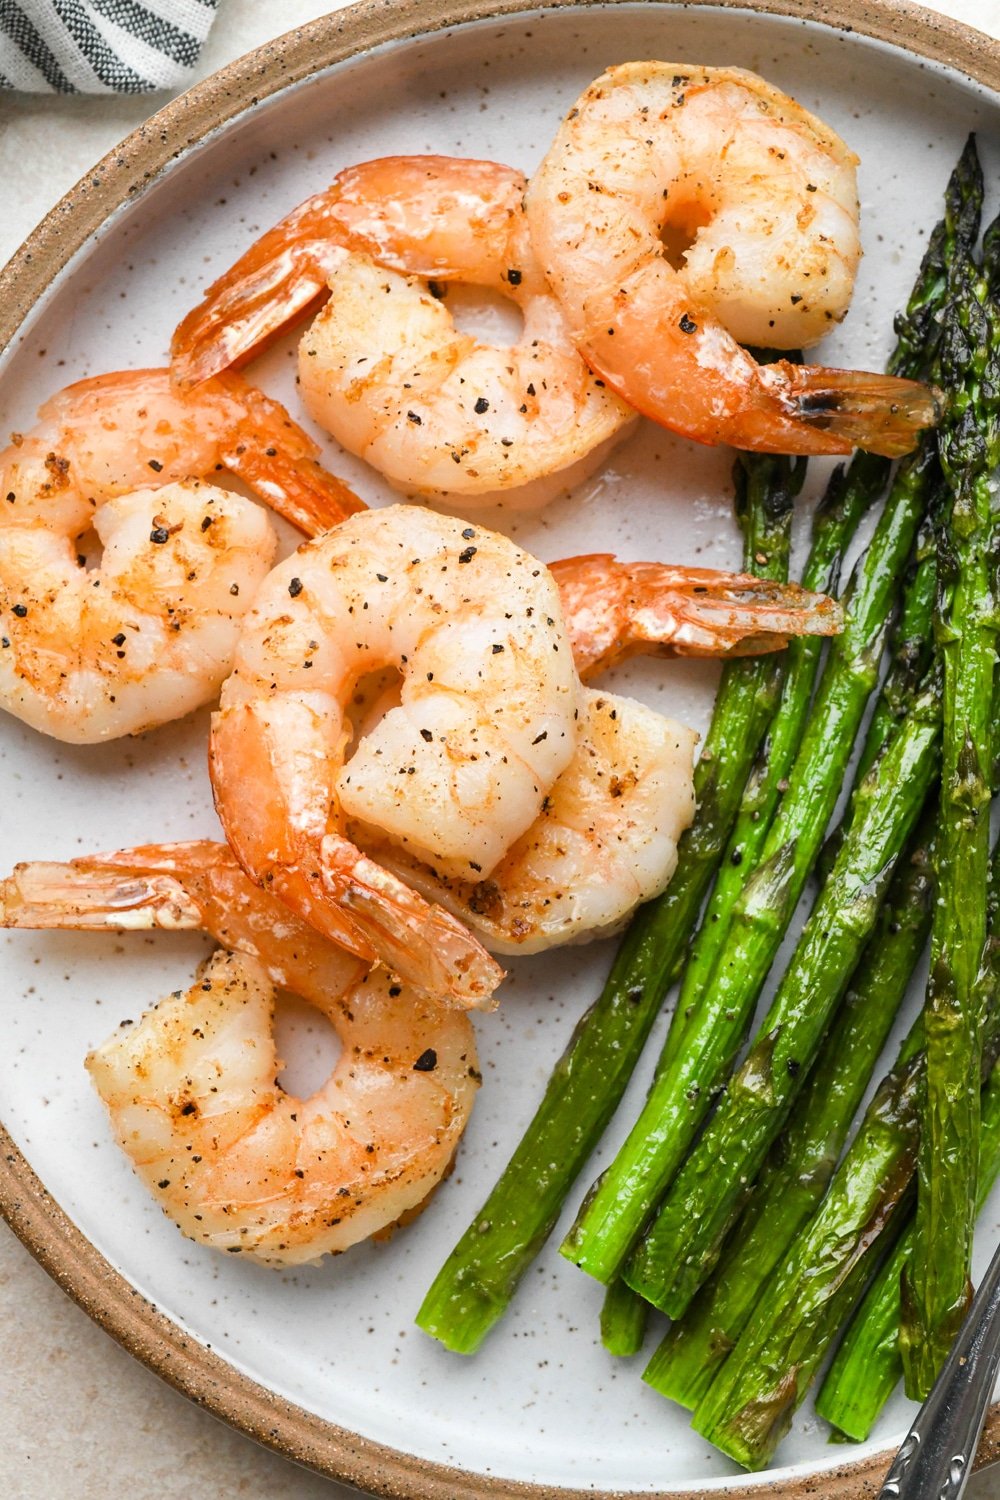
How to make pan seared shrimp
One of the best parts of pan searing shrimp is that it doesn’t take very long to cook. Depending on the size of your shrimp, it usually only takes a few minutes per side.
Step-by-step instructions
Step 1: Clean, dry, and season shrimp
Rinse shrimp in a colander and peel and devein if they are not already. You can also remove the tails if desired.
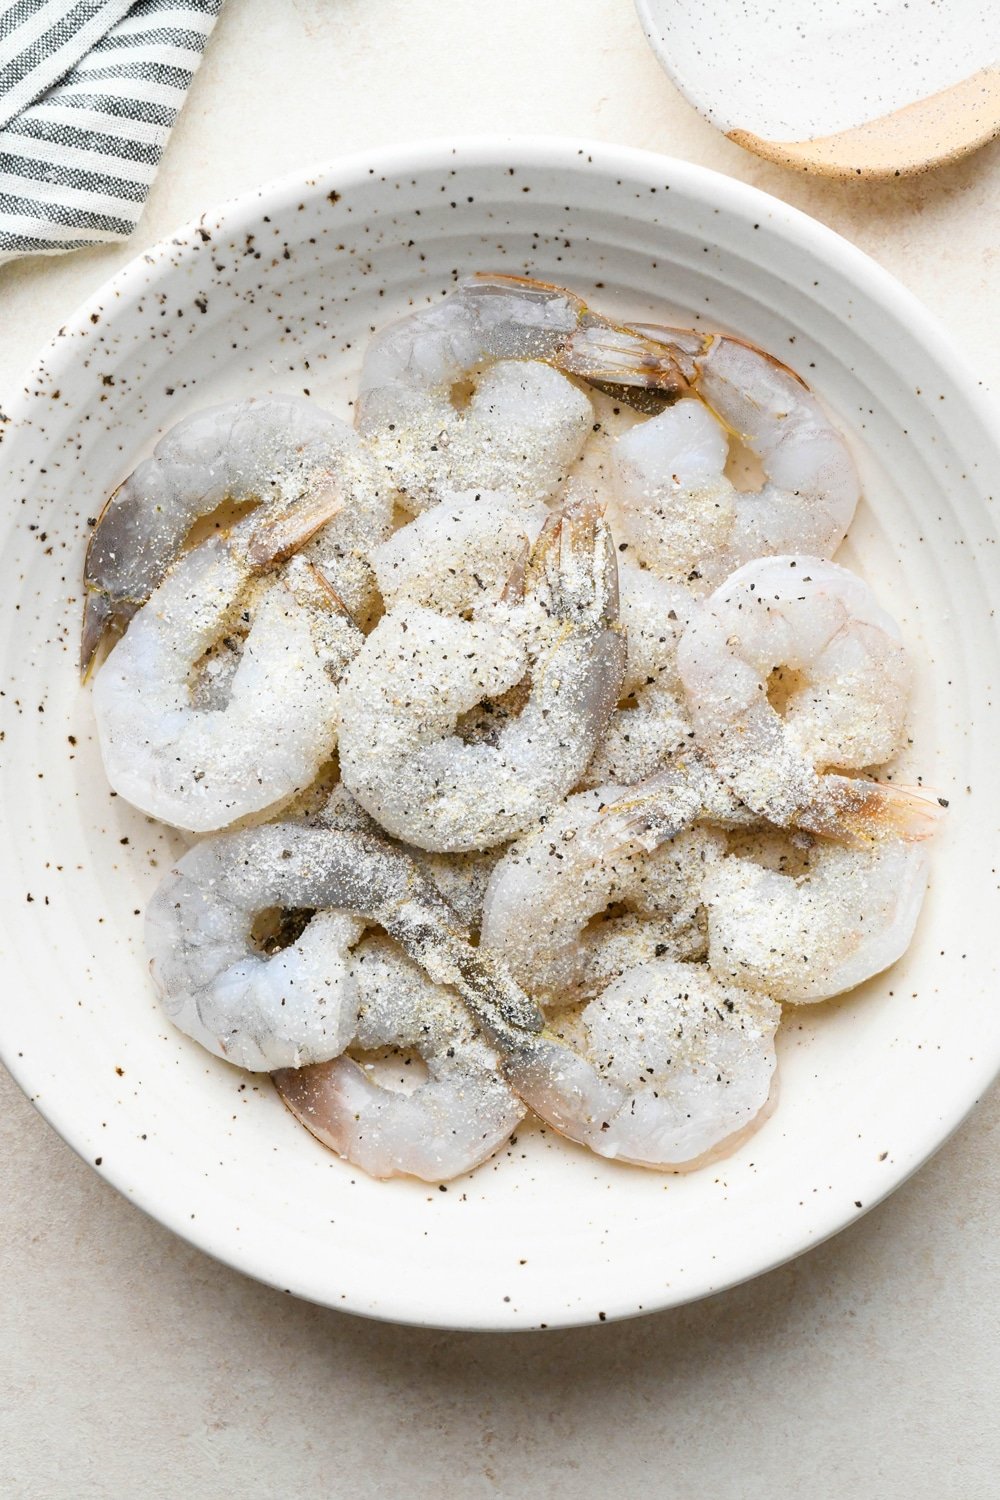
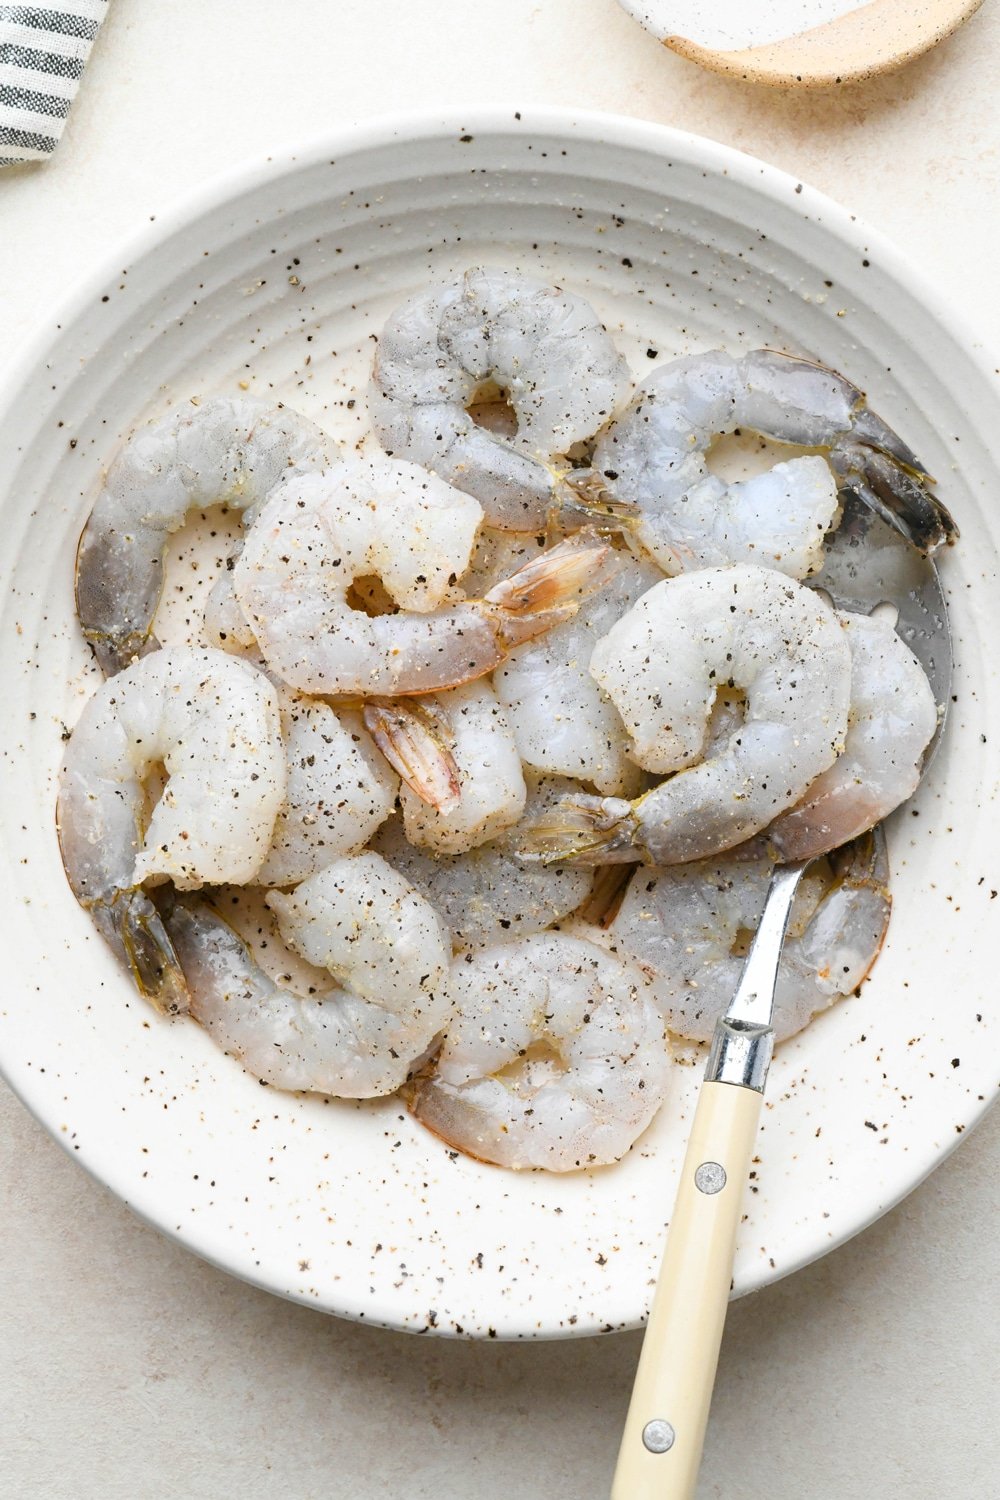
Using paper towels, pat the shrimp completely dry on both sides. Add to a large bowl and sprinkle with salt, pepper, garlic powder, and onion powder. Gently toss until evenly coated and set aside.
Step 2: Cook shrimp
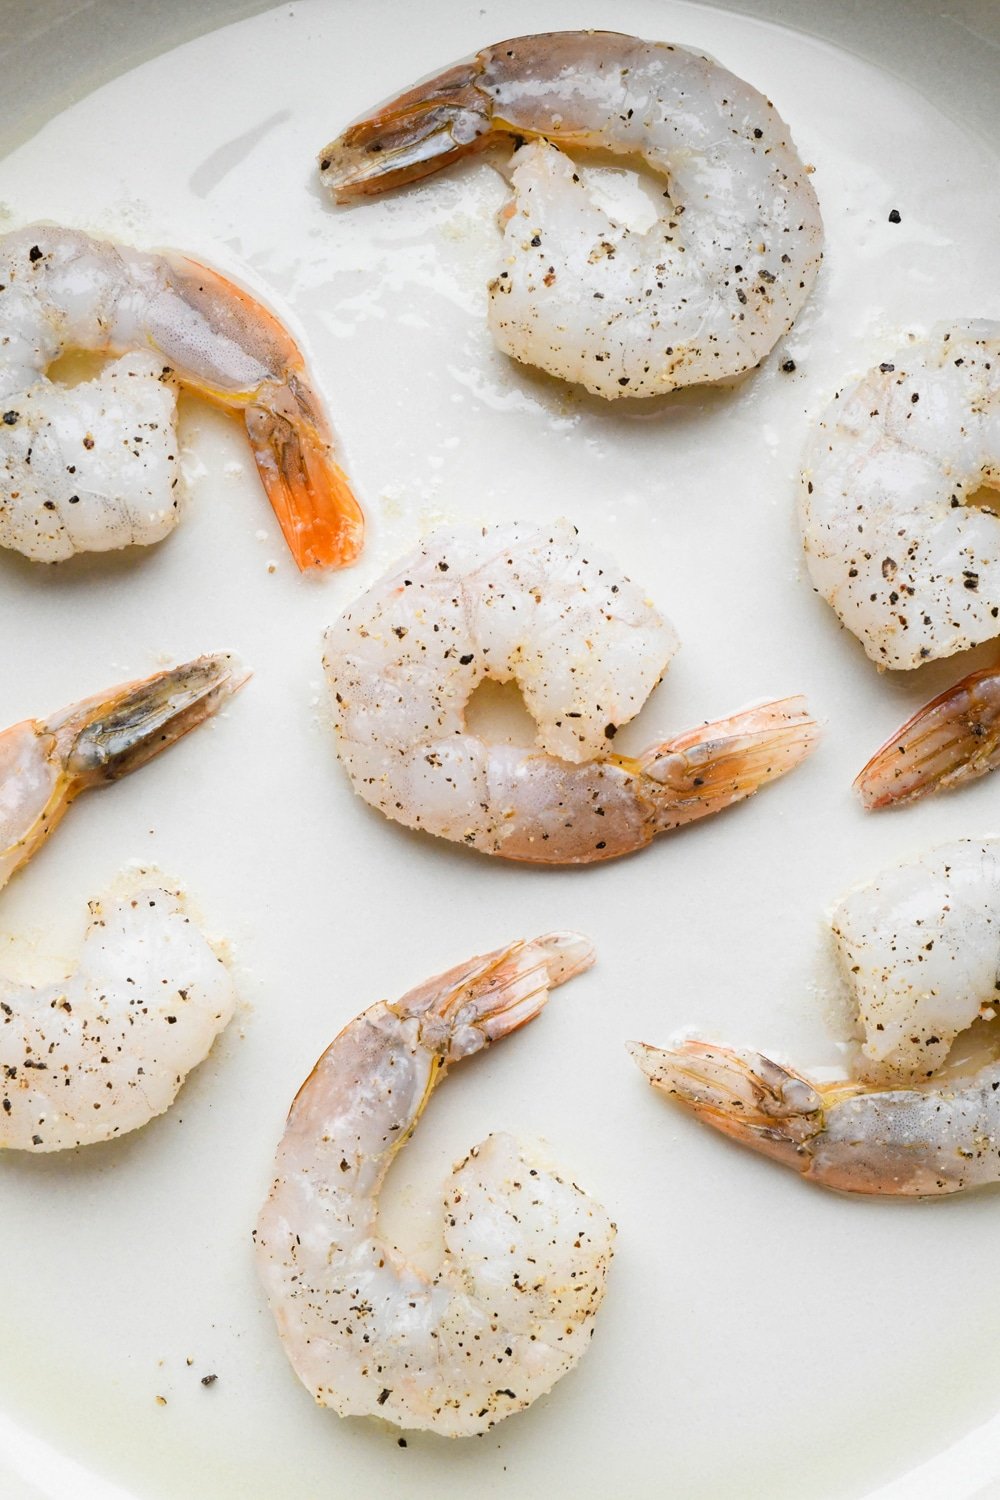
Heat a large skillet over medium-high heat. When the pan is hot, add your oil of choice and swirl to coat the pan.
Add shrimp in a single layer, being careful not to crowd the pan. You may need to cook the shrimp in multiple batches and add more oil as needed.
Cook shrimp on each side for 1-2 minutes until slightly caramelized and no longer translucent in the center.
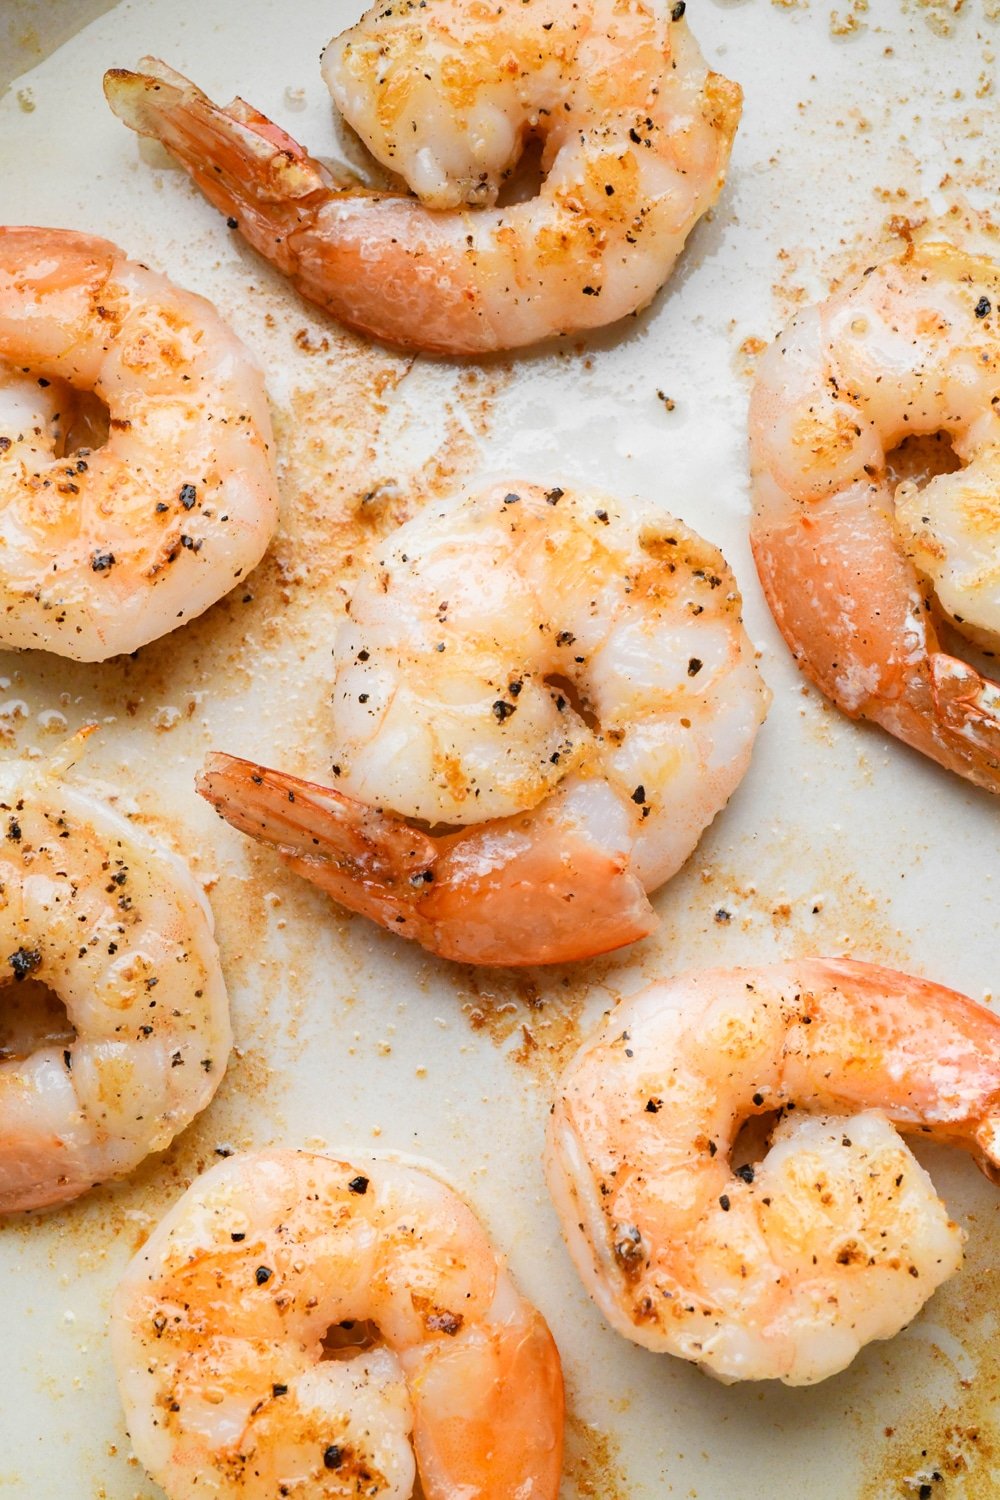
Step 3: Serve and enjoy!
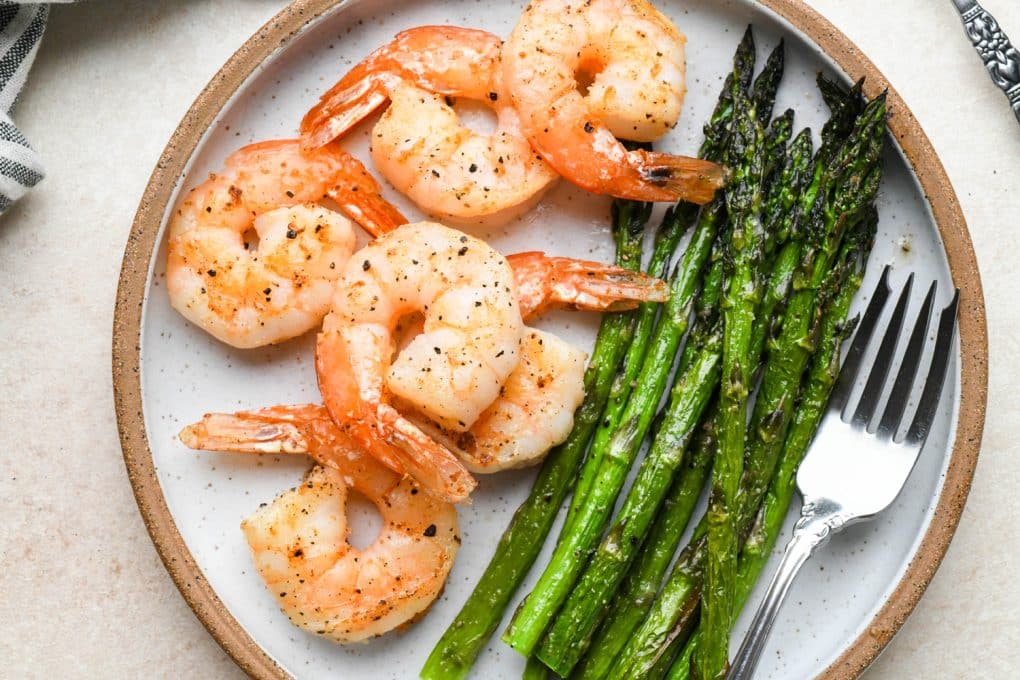
Remove shrimp from the pan and serve as desired.
How long should you cook pan-seared shrimp?
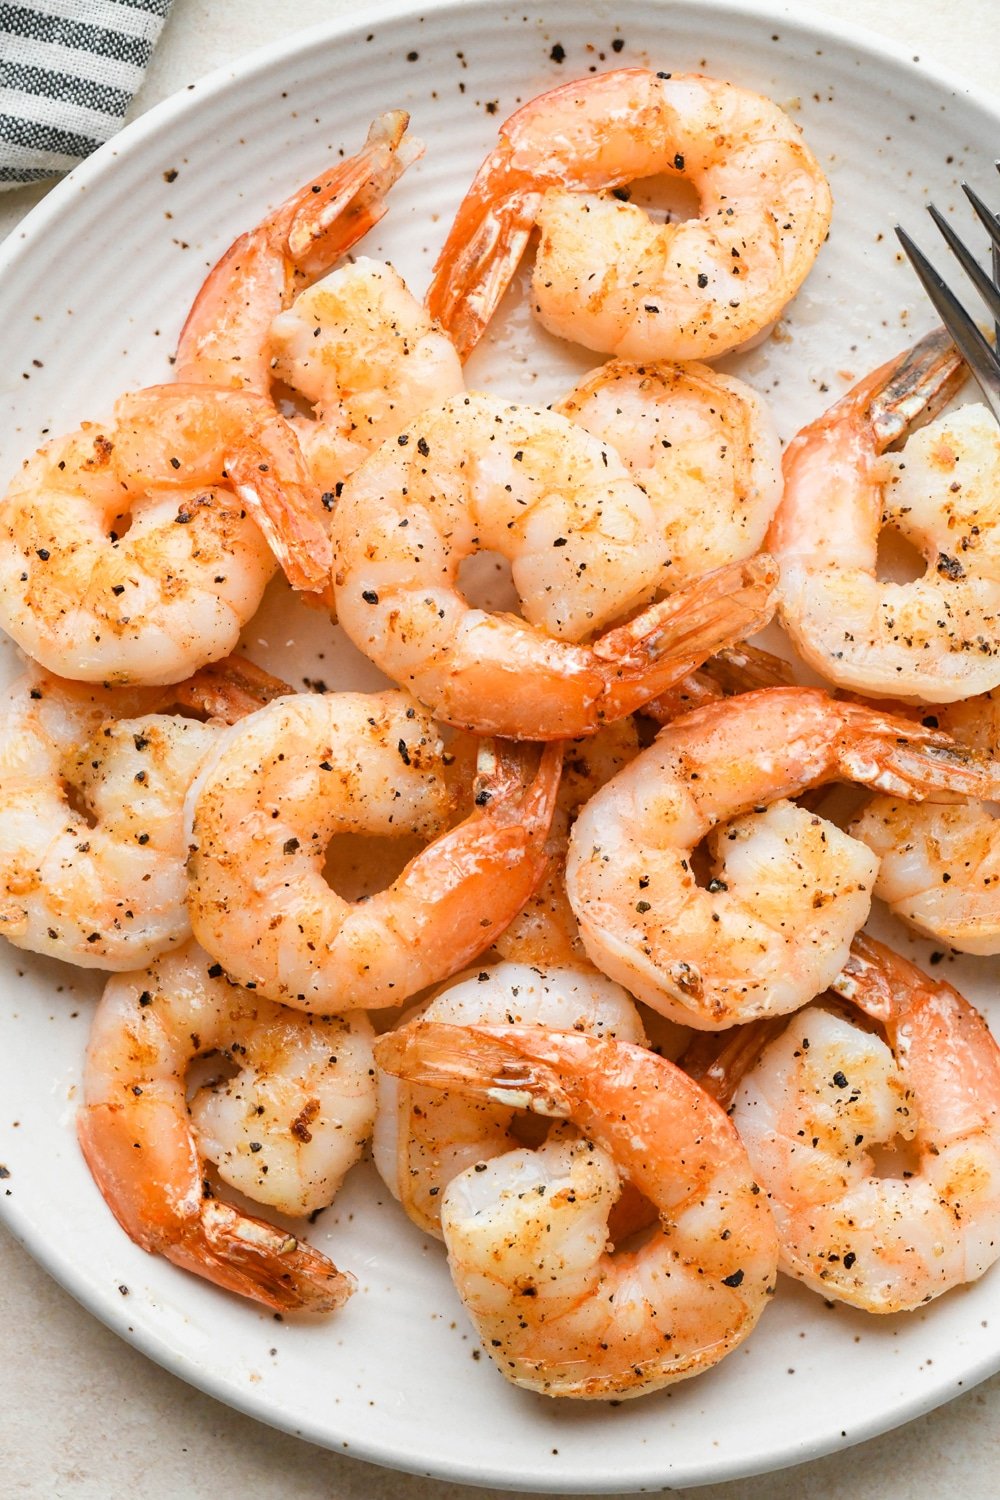
The cooking time depends the size of the shrimp.
Generally, you should cook shrimp on each side for 1-2 minutes until they are no longer translucent on the interior and slightly crisp on the exterior.
Larger shrimp may take slightly longer to to cook fully.
Recipe variations
There are many ways to easily switch up the flavors of this recipe.
You could start by adjusting the seasoning blend to suit the flavor profile of your meal. Paprika, cumin, coriander, chili powder, Greek seasoning, Italian seasoning, taco seasoning, or even Cajun seasoning are all excellent options.
I would suggest adding no more than 1/2 – 3/4 teaspoon of dried spices.
After that, feel free to bright up the flavors further by finishing the shrimp with a squeeze of fresh lemon or lime or a garnish of fresh herbs. Chopped parsley, dill, basil, or cilantro would all be delicious!
Serving suggestions
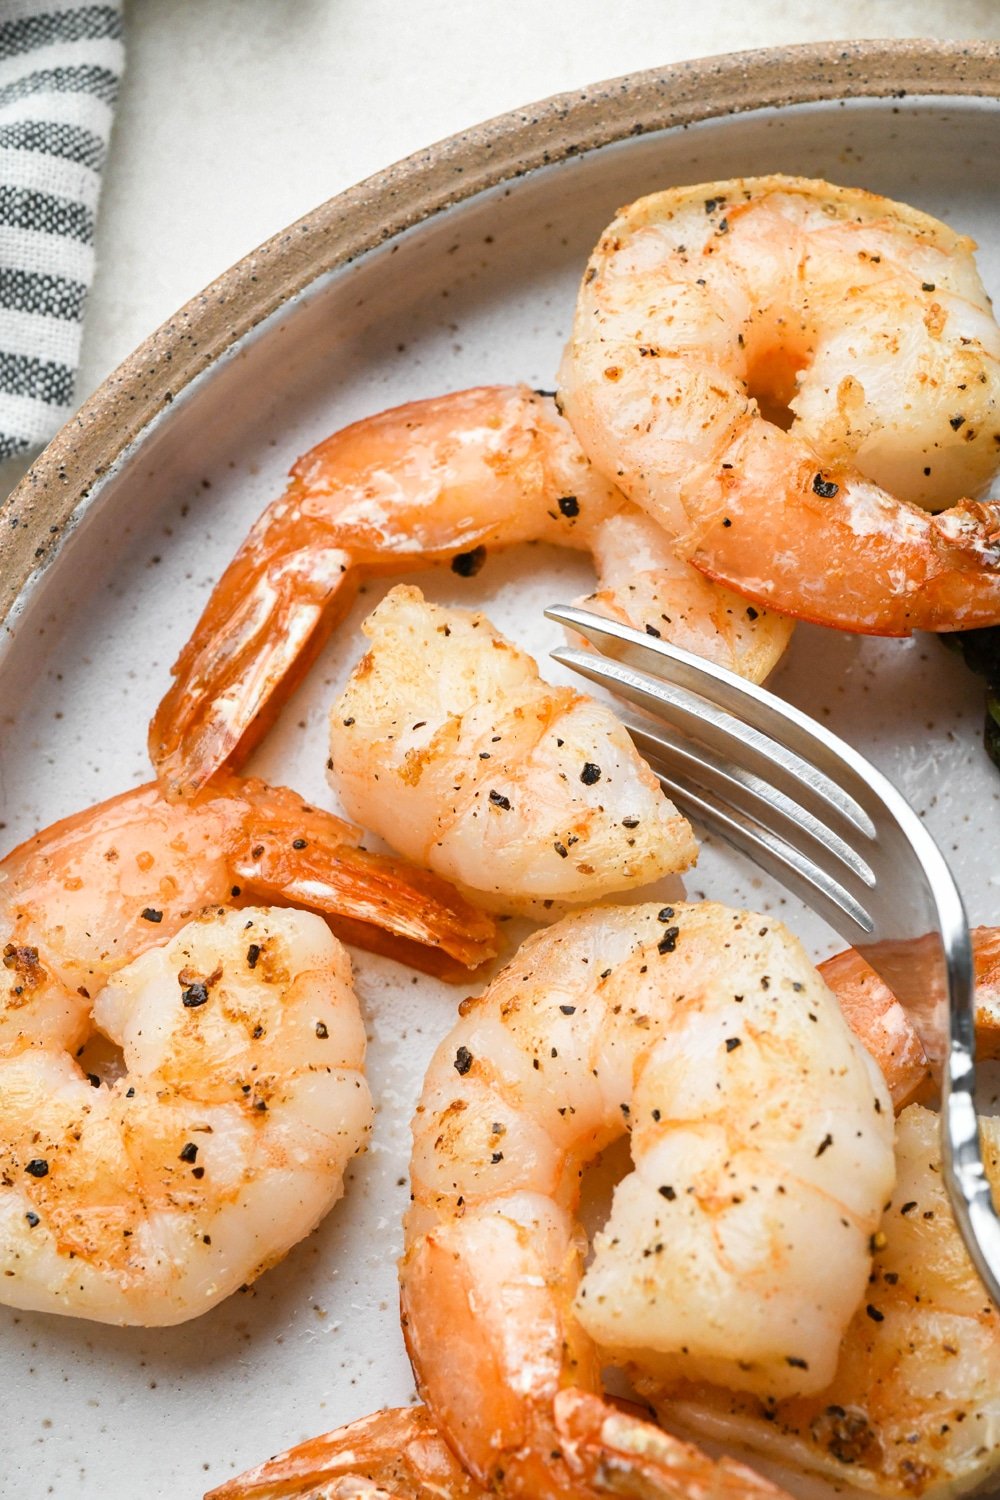
This shrimp is as versatile as it is delicious!
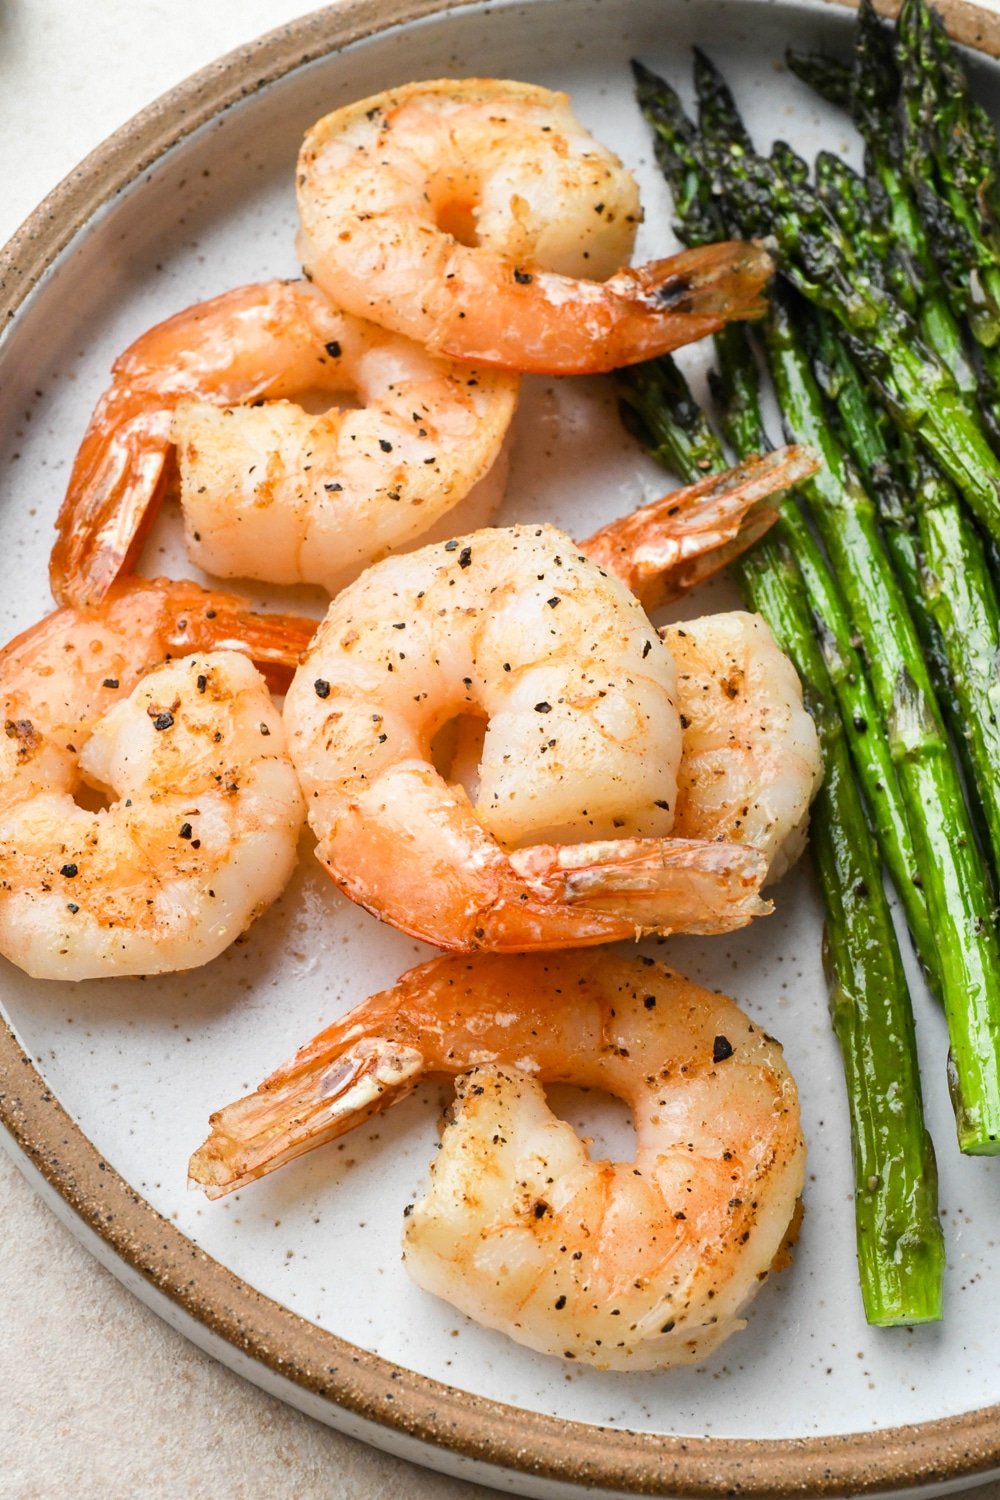
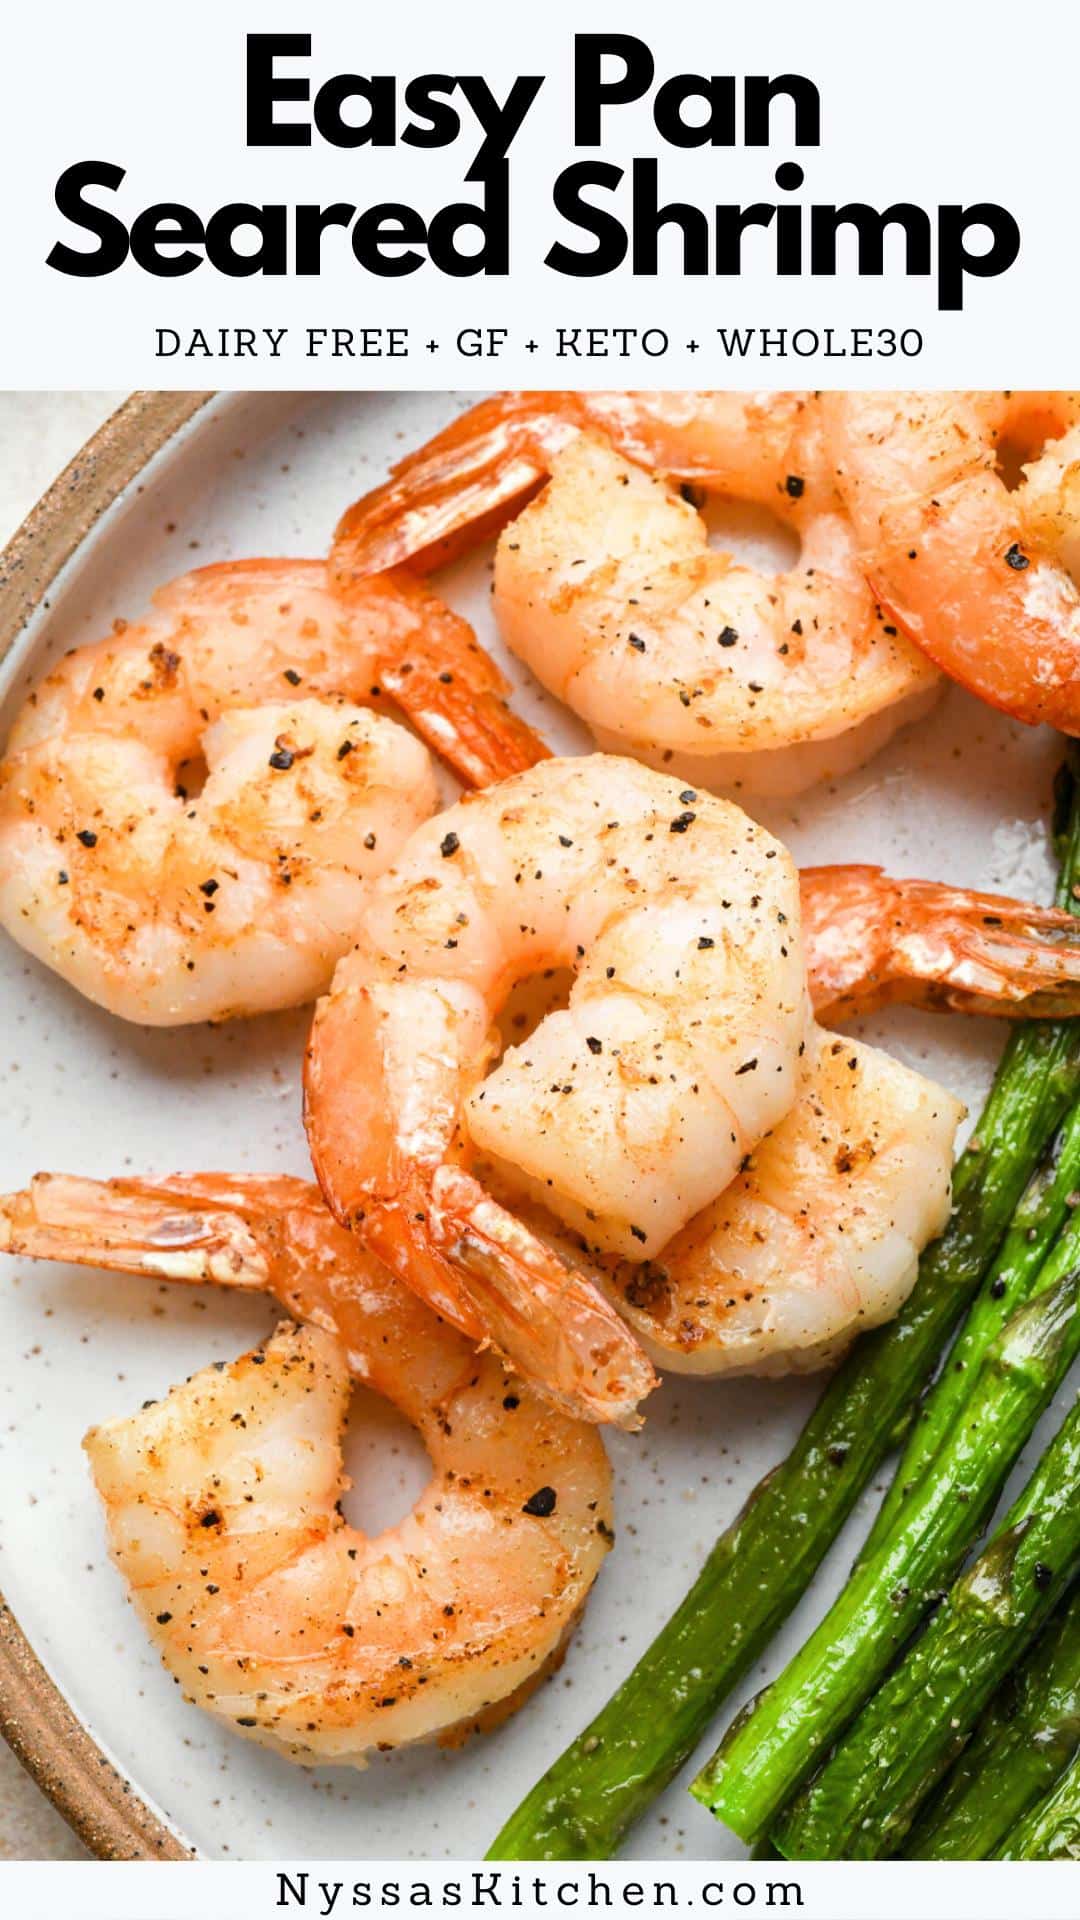
A simple and classic option is to serve it with your favorite pasta like this Dairy Free Fettuccine Alfredo, in tacos, on a Caesar Salad, in a rice bowl, or with fresh or cooked veggies like Roasted Sweet Potatoes or Lemon Garlic Asparagus.
Storage and reheating
Once cooked, shrimp should be stored in an airtight container in the refrigerator for 2-3 days. Make sure to let them cool to room temperature before storing.
- It is best to reheat shrimp gently. You can reheat them in a covered skillet over medium heat with a small amount of oil or water to create steam and return the shrimp’s original juicy texture.
- You can also reheat them in the oven. Cover shrimp with foil in an oven-safe baking dish and warm at 300 degrees Fahrenheit for about 10 minutes or until heated through.
- To reheat in the microwave, warm in 30-second intervals until heated through.
Remember that shrimp can overcook easily, so keep an eye on them when using any of these methods.
If you’re not planning on eating your leftover shrimp within 3 days, you can freeze them for up to 3 months. To freeze, place the shrimp in a freezer-safe container or bag, removing as much air as possible to prevent freezer burn. When you’re ready to eat them, thaw them in the refrigerator overnight before reheating.
If you enjoyed this recipe, we’d love it if you would take 5 seconds to rate and review it below! It’s also super helpful for other readers if you share any modifications you made to the recipe.
Thank you for sharing your kitchen with NK. We’re so grateful you’re here!
Print
10-Minute Pan Seared Shrimp (Dairy Free)
- Total Time: 10 minutes
- Yield: 4 servings 1x
- Diet: Gluten Free
Description
This pan seared shrimp is an easy seafood recipe that will impress your taste buds and dinner guests alike! With just a few simple steps, you can create restaurant-quality seared shrimp at home that is flavorful and foolproof. Ready in just 10 minutes, versatile and perfect for a quick lunch or dinner. Gluten free, dairy free, paleo, Whole30 compatible, and keto friendly.
Ingredients
- 1 pound jumbo peeled and deveined shrimp, tail on or off
- 1–2 tablespoons olive oil, avocado oil, or ghee
- 1 teaspoon kosher salt
- 1/4 teaspoon black pepper
- 1/4 teaspoon garlic powder (optional)
- 1/4 teaspoon onion powder (optional)
Instructions
- Clean, dry, and season shrimp. Rinse shrimp in a colander and peel and devein if they are not already. You can remove the tails if desired. Using paper towels, pat the shrimp completely dry on both sides. Add to a large bowl and sprinkle with salt, pepper, garlic powder, and onion powder if using. Gently toss until evenly coated and set aside.
- Cook shrimp. Heat a large cast iron or stainless-steel skillet over medium-high heat. When the pan is hot, add your oil of choice and swirl to coat the pan. Add shrimp in a single layer, being careful not to crowd the pan. You may need to cook the shrimp in multiple batches and add more oil as needed. Cook shrimp on each side for 1-2 minutes until slightly caramelized and no longer translucent in the center.
- Serve and enjoy. Remove shrimp from the pan and serve as desired. Enjoy!
Notes
Once cooked, shrimp should be stored in an airtight container in the refrigerator for 2-3 days. Make sure to let the shrimp cool to room temperature before storing them.
It is best to reheat shrimp gently. You can reheat them in a covered skillet over medium heat with a small amount of oil or water to create steam and return the shrimp’s original juicy texture.
You can also reheat them in the oven. Cover shrimp with foil in an oven-safe baking dish and warm at 300 degrees Fahrenheit for about 10 minutes or until heated through.
To reheat in the microwave, warm in 30-second intervals until heated through.
If you’re not planning on eating your leftover shrimp within 3 days, you can freeze them for up to 3 months. To freeze, place the shrimp in a freezer-safe container or bag, removing as much air as possible to prevent freezer burn. When you’re ready to eat them, thaw them in the refrigerator overnight before reheating.
- Prep Time: 5 minutes
- Cook Time: 5 minutes
- Category: Dinner
- Method: Stove top
- Cuisine: American



Leave a Reply