These chocolate coconut almond bliss balls are a crazy easy paleo friendly and vegan dessert made using only the yummiest + simple ingredients – chocolate, coconut, maple syrup and coconut oil are combined to make this decadent chocolatey treat!
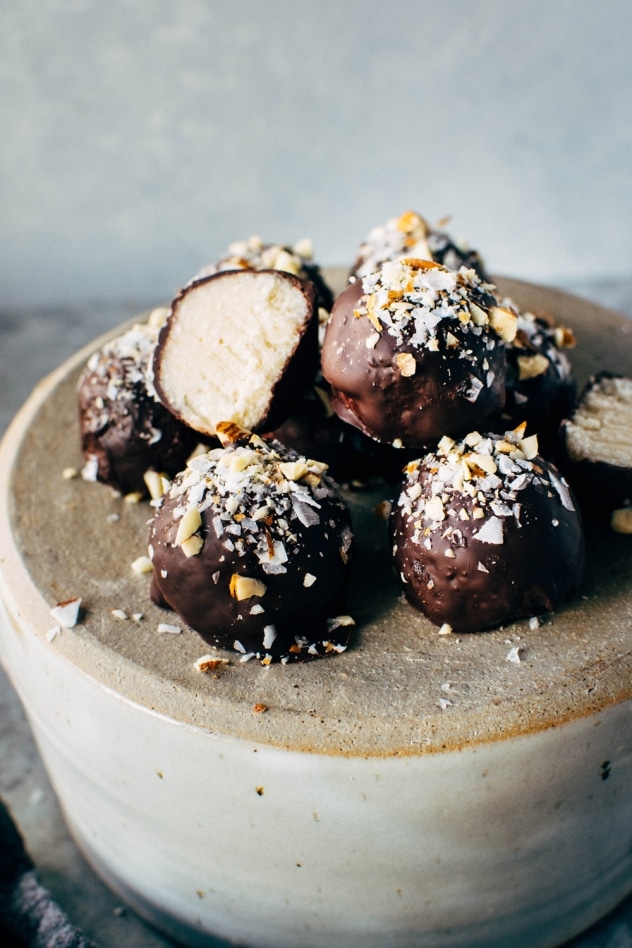
I’m fairly sure I know exactly what you’re thinking – do we really need one more treat recipe? I’m going to go ahead and say that yes, when it’s a recipe for these chocolate coconut almond bliss balls, the answer is most definitely yes.
Because this is not your ordinary treat recipe. These little bliss balls are:
A) Dairy free
B) Naturally sweetened
C) Made with only 6 ingredients, two of which are vanilla extract and sea salt
D) Waaaaay easier to make than they seem (read: option to appear fancy at your next gathering without doing anything more difficult than making the easiest cookie recipe)
BOOM. So much more to offer than your ordinary truffle.
what five ingredients are used for these bliss balls?
- unsweetened coconut flakes
- coconut oil
- maple syrup
- vanilla extract
- sea salt
- chocolate for dipping – I have consistently amazing results with these Hu Chocolate Gems for this step, but your favorite chocolate bar or chocolate chips would also be perfect!
The trickiest part of the recipe is most definitely the forming and shaping of the balls. I guarantee that when you first make your coconut bliss ball mixture you’re going to have doubts about whether or not it will actually work, but I PROMISE that if you follow my suggestions, you’ll have delicious success!
here’s my tips
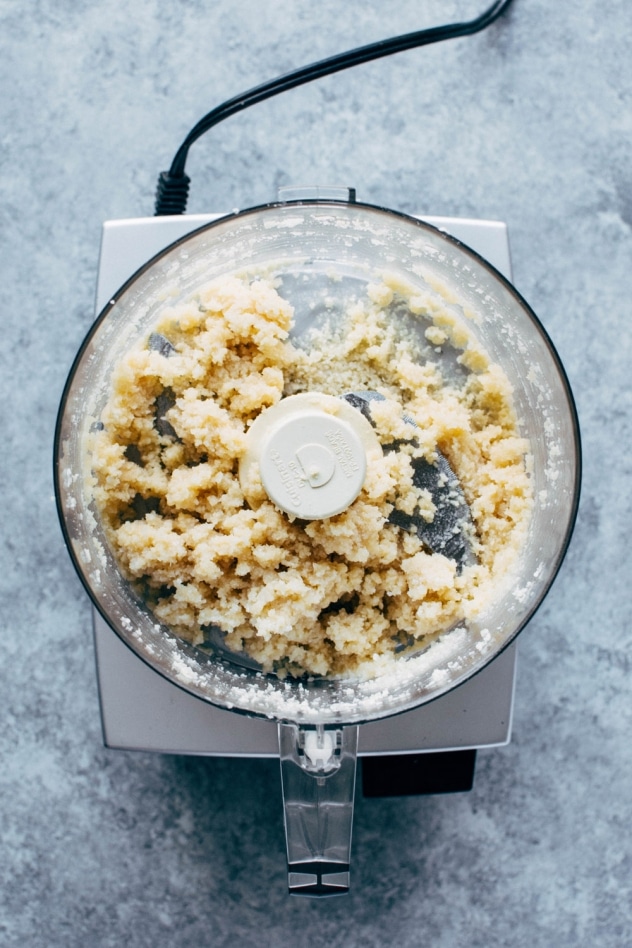
- Make sure you process the coconut mixture for the right amount of time. You’ll probably have to stop a couple times throughout to scrape down the sides. It doesn’t have to be a super thick paste, but you want your mixture to start to clump together. About 1-2 minutes should be the right amount of time.
- You won’t be able to shape them by rolling in between your palms as your instinct would tell you. Instead, scoop out a little less than a tablespoon’s worth of the coconut mixture, and press it in between your palms to sort of flatten and get it to stick together. Then you can carefully form into a ball using your finger tips. Don’t worry if it’s not a perfect sphere, you’ll have a chance to smooth out the lumps and bumps once you let them set in the refrigerator for a little while.
- Move them to the refrigerator to set and harden slightly before rolling in melted chocolate. This step is absolutely necessary to get the balls to hold their shape for the chocolate coating portion of the recipe! Don’t skip it 😉
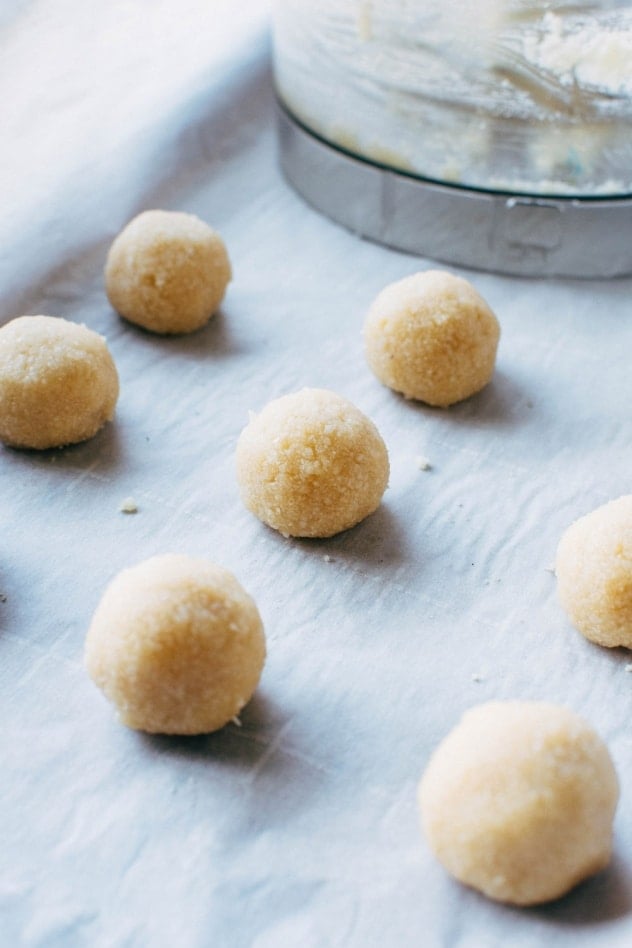
Once the coconut balls have set up in the refrigerator, you can actually roll them in between your palms for a smoother more perfectly round finish (totes optional, if you’re not too picky about their shape just get to dipping in chocolate!).
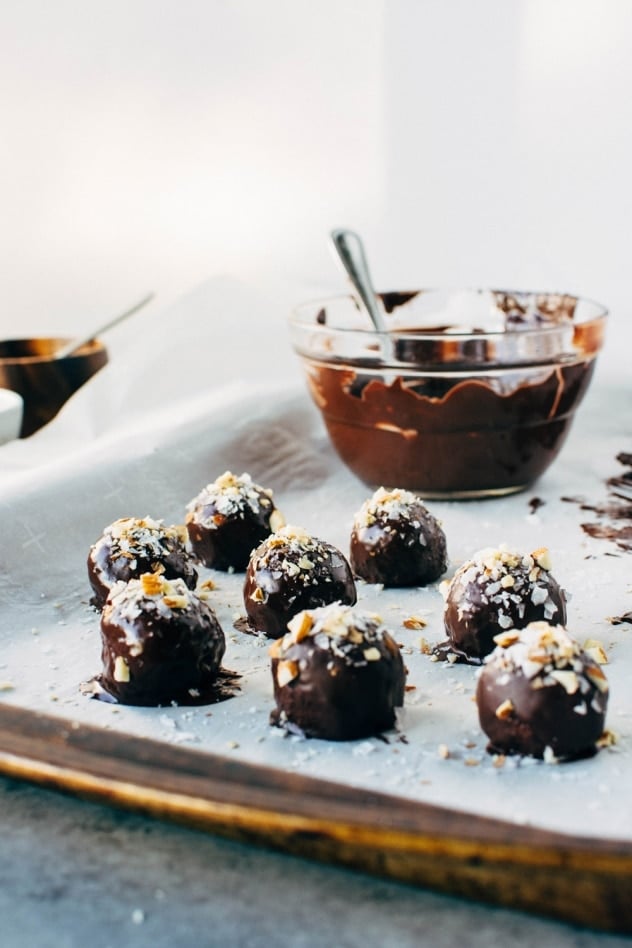
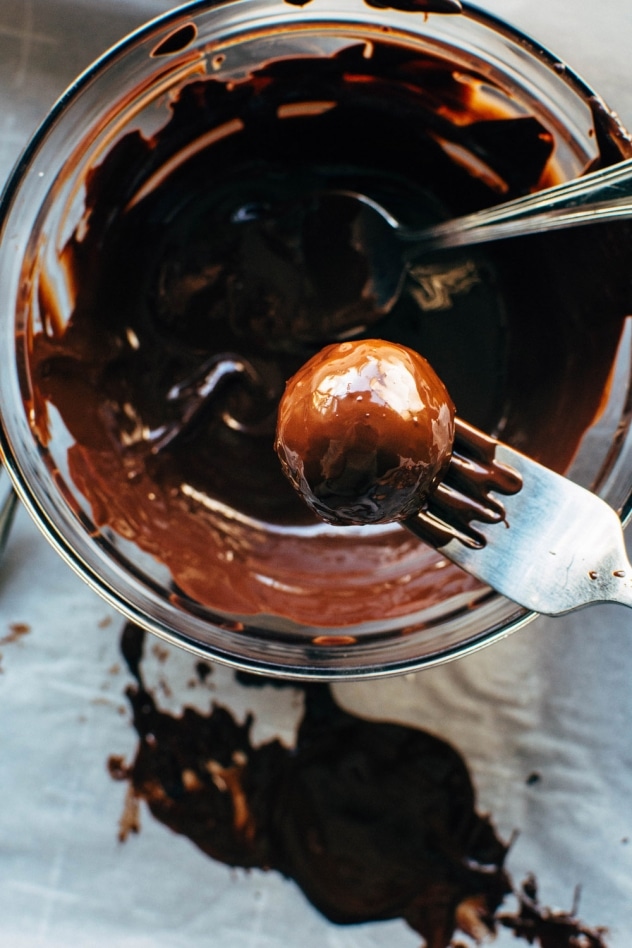
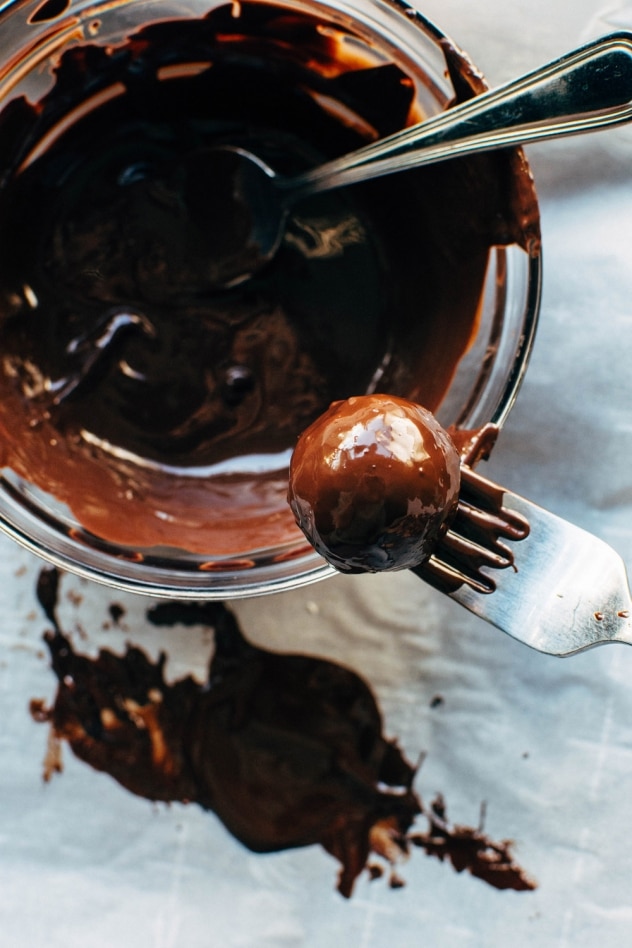
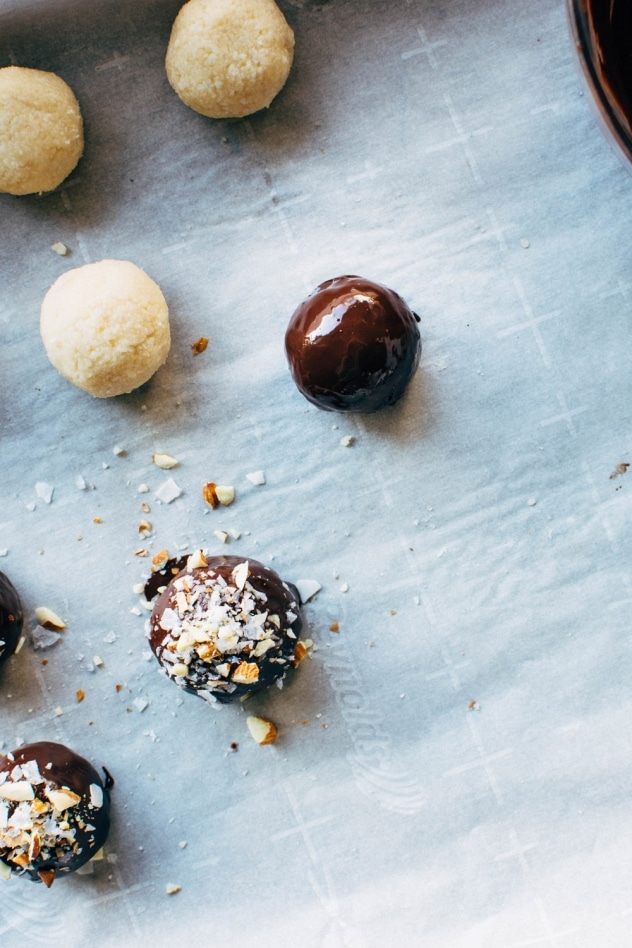
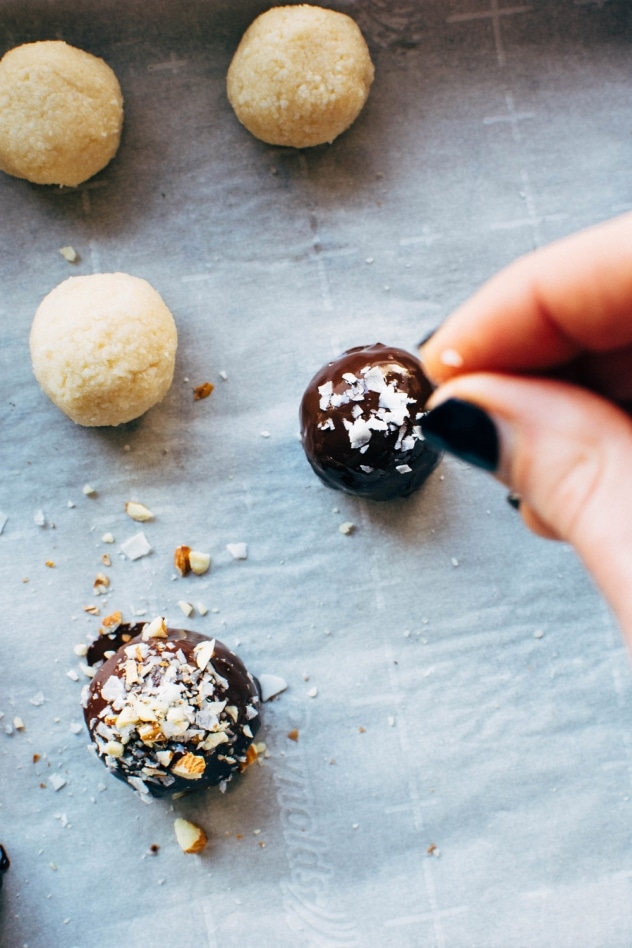
Drop the coconut balls into the bowl with your melted chocolate, and turn to coat using a spoon or a fork. Lift out of the chocolate with a fork, scraping the excess chocolate off the bottom of the bliss ball against the edge of the bowl. Carefully set onto a parchment lined baking sheet and immediately top with extra coconut flakes, flaky sea salt and some finely chopped almonds. Since the bliss balls are cold from setting up in the refrigerator, the chocolate will probably harden fairly quickly, so you’ll want to sprinkle on your desired toppings right away!
Also.. feel free to improvise on what toppings you add at this point in the recipe! Any kind of chopped nut would be delicious, also cacao nibs, a dusting of cacao powder, or even some freeze dried fruit would be beautiful!
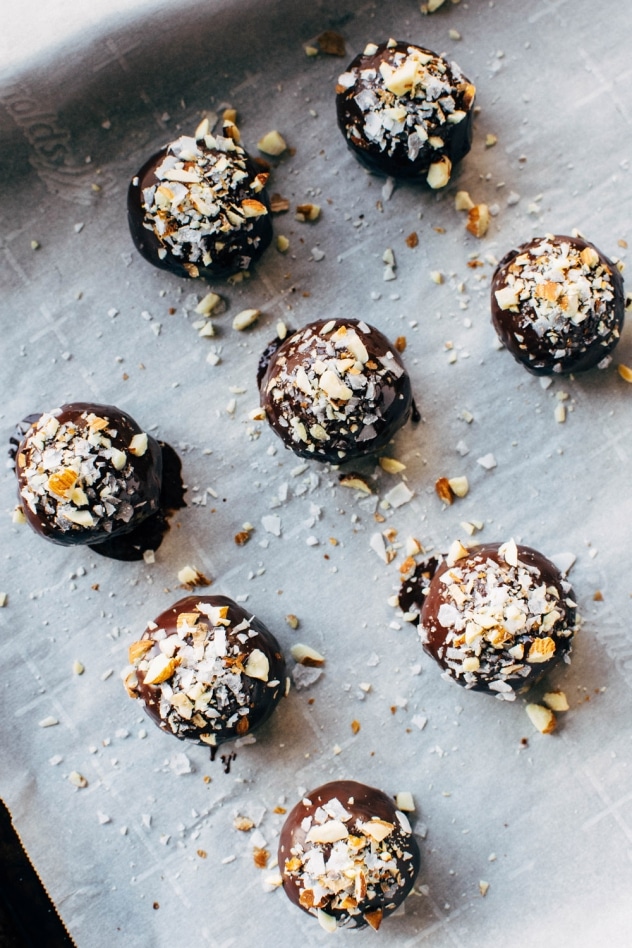
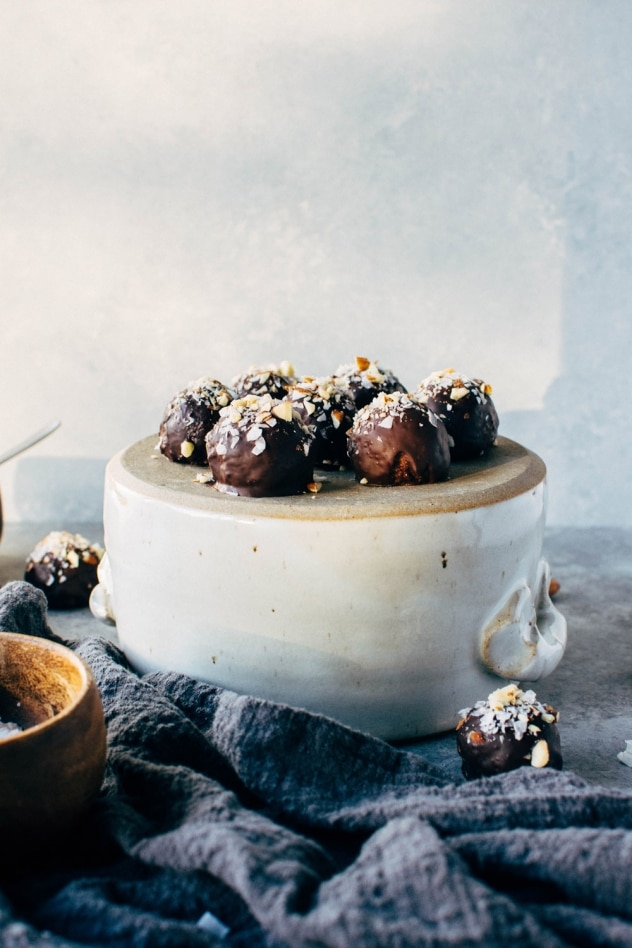
And that’s a wrap! Here’s to ringing in the new with (EASY!) chocolate treats that satisfy and delight! xx
equipment used for this recipe:
Cuisinart Pro Classic 7-Cup Food Processor
Print
Chocolate Coconut Almond Bliss Balls {paleo friendly + vegan}
- Total Time: 30 minutes
- Yield: 8–10 pieces 1x
Description
These chocolate coconut almond bliss balls are a crazy easy paleo friendly and vegan dessert made using only the yummiest + simplest ingredients.
Ingredients
- 2 cups raw unsweetened large coconut flakes
- 1/4 cup melted coconut oil
- 1/4 teaspoon sea salt
- 1/2 teaspoon vanilla extract
- 3 tablespoons maple syrup
- 4 oz dark chocolate for melting + a little coconut oil to thin if necessary
- crushed almonds, more coconut flakes, and flaky sea salt for garnish
Instructions
- In a food processor combine the coconut flakes, melted coconut oil, sea salt, vanilla extract and maple syrup. Process until mixture is smooth and starting sticking together – about 1 to 2 minutes. Stop every so often to scrape down the sides if necessary.
- Line a baking sheet or large plate with parchment paper.
- Scoop out coconut mixture one small tablespoon at a time and kind of press in between your hands to make it flatten and stick together. You can then gently form it into a ball using fingers. Rolling it in between your hands won’t work – it will be too crumbly.
- Place finished balls on lined baking sheet or plate and move to the refrigerator for about 15 minutes to harden.
- Prepare your toppings – coconut flakes, flaky sea salt, and finely chopped almonds.
- Slowly melt chocolate either in the microwave or in a double boiler on the stove top, stirring every so often, until it is quite thin and smooth. The microwave is probably the most fool proof option. If you decide to go this route, melt it in about 30 second increments, stirring in between each 30 second round, until chocolate is totally melted and smooth. If for some reason your chocolate just seems too thick after melting, add about 1 teaspoon at a time of coconut oil and melt it into the chocolate, stirring to combine until desired thickness is reached.
- Once balls have set, remove from the refrigerator. At this point you can kind of roll them between your hands to smooth out any bumps if desired. Drop one ball at a time into the melted chocolate and roll to coat using a spoon or fork. Lift ball out of the chocolate with a fork and tap on the edge of the bowl so excess chocolate drips off, and scrape the bottom of the fork against the rim before sliding off the fork onto lined surface. You can use another clean fork to help move the chocolate coated bliss ball from fork to parchment paper.
- Immediately sprinkle with desired toppings, as chocolate will begin to harden fairly quickly.
- Chill in the refrigerator until chocolate has hardened.
- Store on the counter for several days, or in the refrigerator for up to a week!
- Prep Time: 15 minutes
Did you make this recipe? I would love to know how it turned out for you! when you rate my recipes and leave feedback it helps me continue to improve. you can leave me a comment below, or snap a picture and post it to instagram with the tag @nyssaskitchen or hashtag #nyssaskitchen! xo


Eytan Bernet says
Thanks for sharing the recipe! I tried them at your place and was blown away. Can’t wait to make them!
Nyssa Tanner says
Thanks for the love Eytan! These are definitely one of my favorite treats! ☺️