This recipe for chunky gluten free granola is a delicious homemade granola that’s perfect for quick breakfasts and snacking! Made with gluten free oats, a mix of nuts and seeds, and a vanilla cinnamon scented maple syrup mixture to hold it all together! It is chunky, full of crunchy clusters, and so much better than store bought granola! Gluten free, dairy free, and vegan.
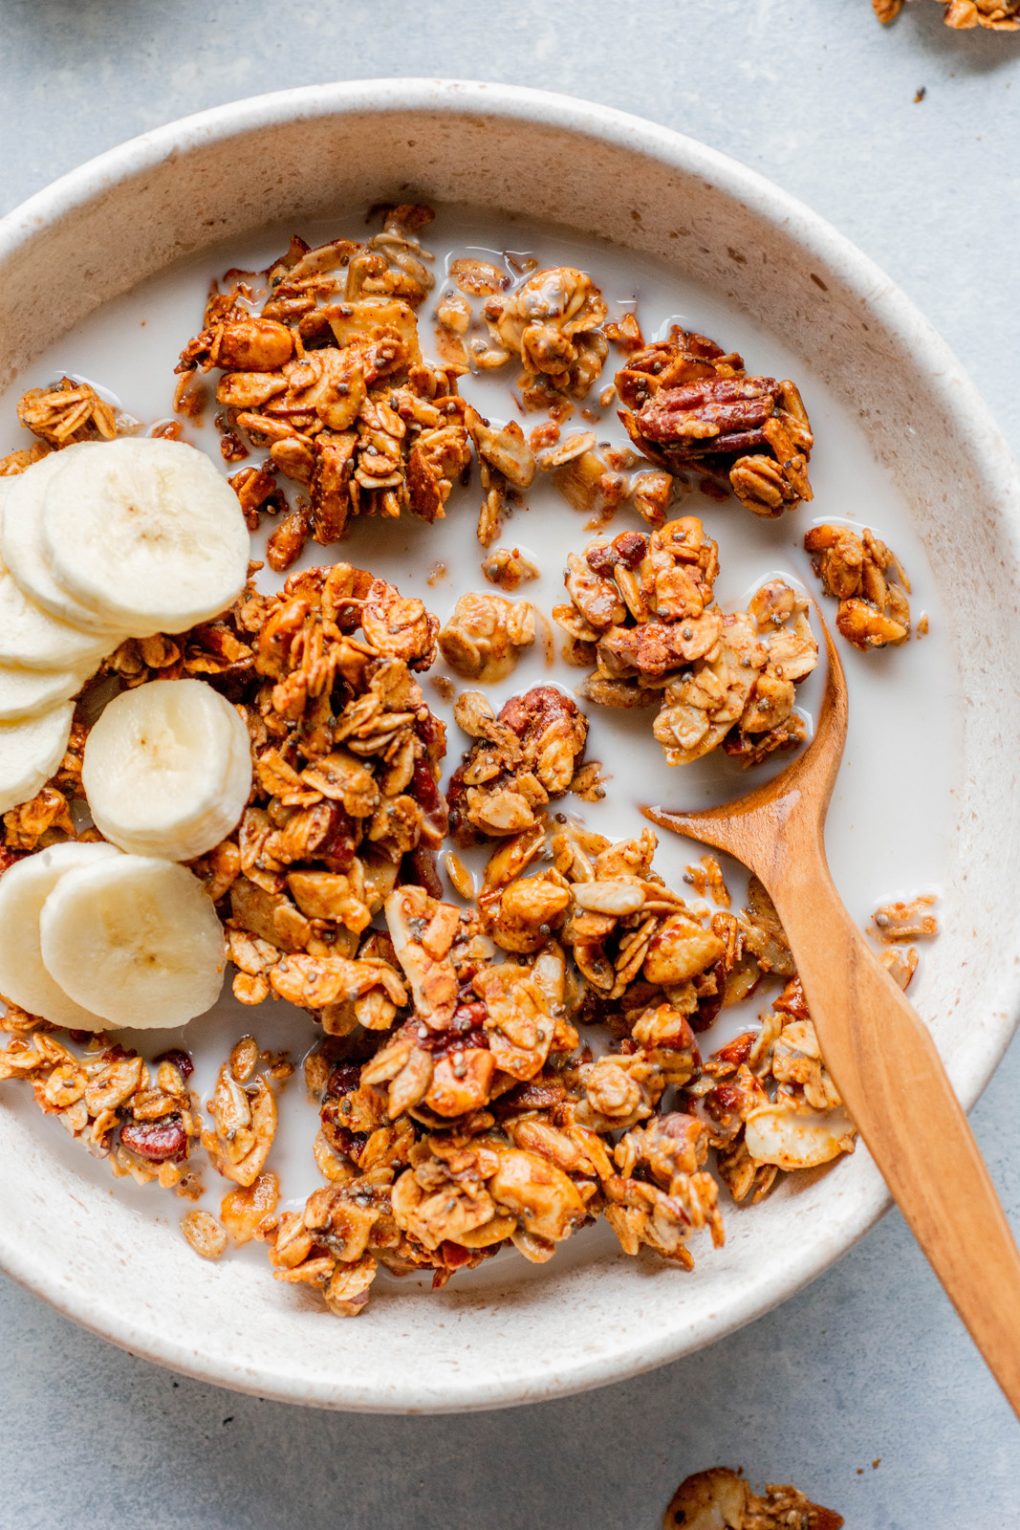
I don’t know about you, but I absolutely love making homemade granola! It’s so much better than most store bought varieties, AND you get to choose what ingredients you use.
A real win / win DIY recipe situation!
This is our go to recipe for gluten free granola. It is crunchy, makes a big batch that will last the whole week, full of notes of cinnamon and vanilla, and very easy to make.
Plus it’s made mostly with pantry staples that you likely already have on hand. And if you’re missing one of the nuts or seeds, you can easily swap it for something else!
An all around delicious granola recipe to whip up on a Sunday and enjoy throughout the week. Perfect for breakfasts and snacks alike!
Why you’ll love this granola
It is:
- Easy to make
- Full of granola clusters
- Crunchy
- Naturally sweetened
- Gluten free and dairy free
- Scented with cinnamon and vanilla
- Full of wholesome ingredients
- SO tasty!
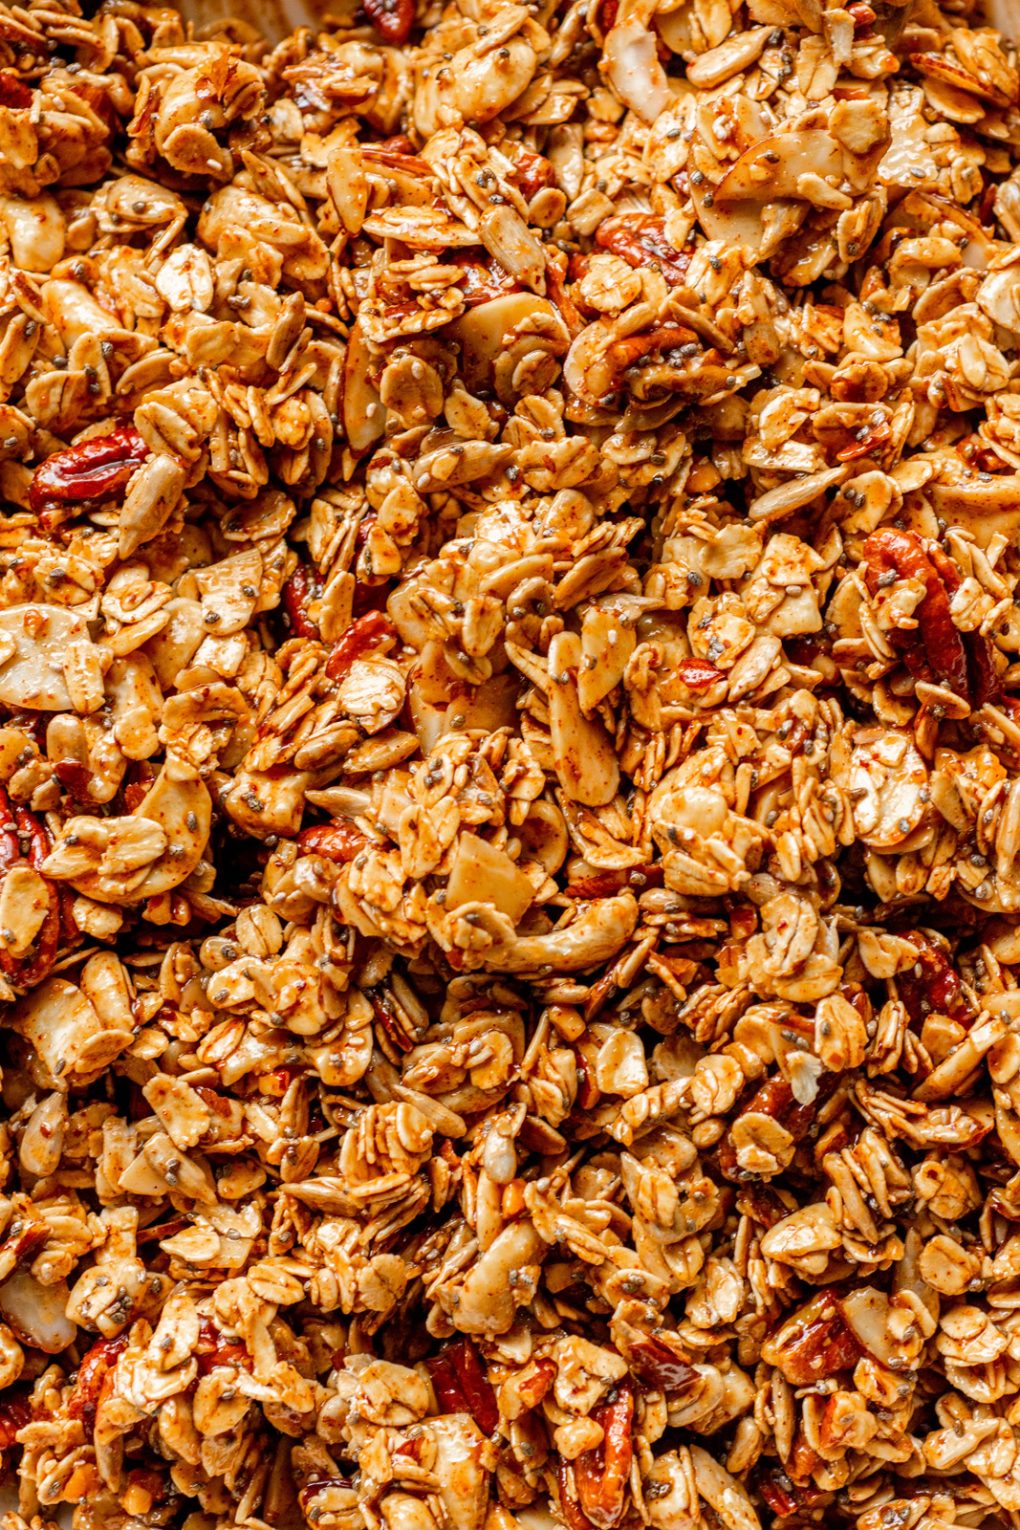
Ingredients
(If you’re already ready to get started, scroll all the way down to the bottom for the full printable recipe!)
- Gluten free oats – In order to make sure this granola is gluten free it’s super important to find oats that are labeled as gluten free. Even better if they are processed in a dedicated gluten free facility like these gf oats from Bob’s Red Mill. Oats themselves do not contain gluten, but they often come into contact with gluten containing grains during processing.
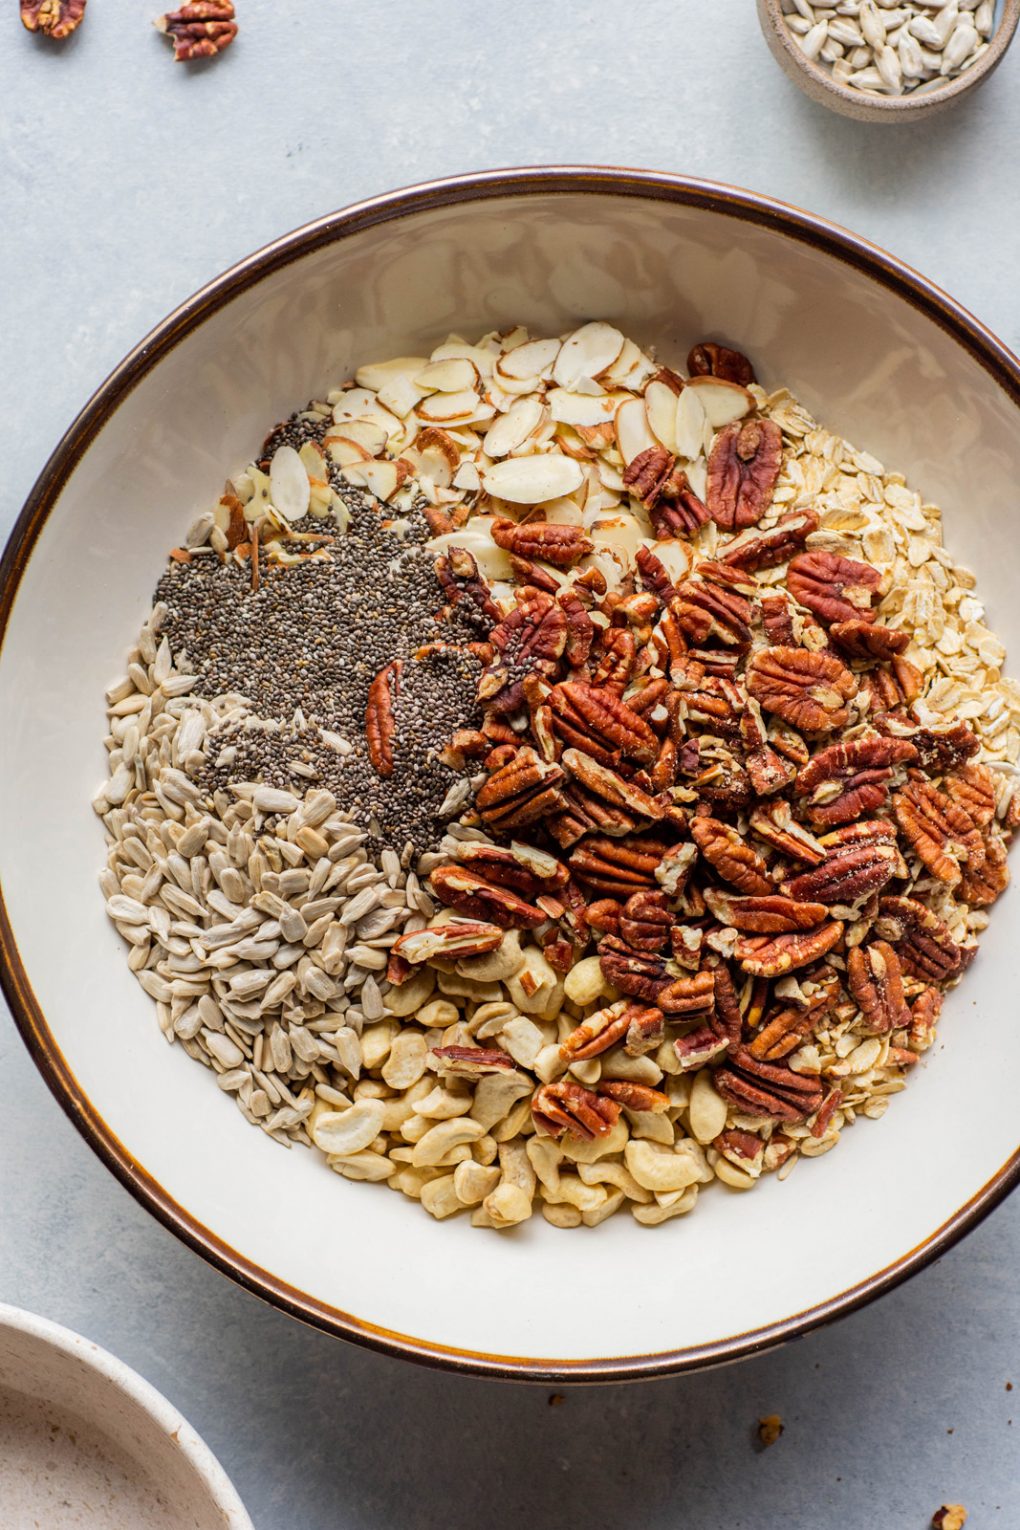
- A mixture of nuts and seeds – Pecans, cashews, almonds, sunflower seeds, and chia seeds or flax seeds is what I chose for this recipe, but you can easily swap these out for whatever you prefer or have on hand.
- Coconut sugar & maple syrup – By combining coconut sugar and maple syrup in this granola recipe you get the crunchiest texture with lots of granola clusters.
- Almond butter – Almond butter also helps the granola crisp up and stay together in clumps. Feel free to substitute another nut butter like cashew butter or even peanut butter.
- Dairy free milk – Dairy free milk is combined with the natural sweeteners, almond butter, and spices so it is thin enough to evenly coat the granola ingredients.
- Salt, cinnamon, & vanilla – Salt, cinnamon, and vanilla extract bring all the flavors together.
Many of these gluten free granola ingredients can also be found on Thrive Market – a membership based natural products website that is like a Whole Foods or Costco but entirely based online and with literally the BEST wholesale prices.
I have been a Thrive Market member for 4 years and over that period of time I have saved a projected $3,892.75! That is some serious savings.
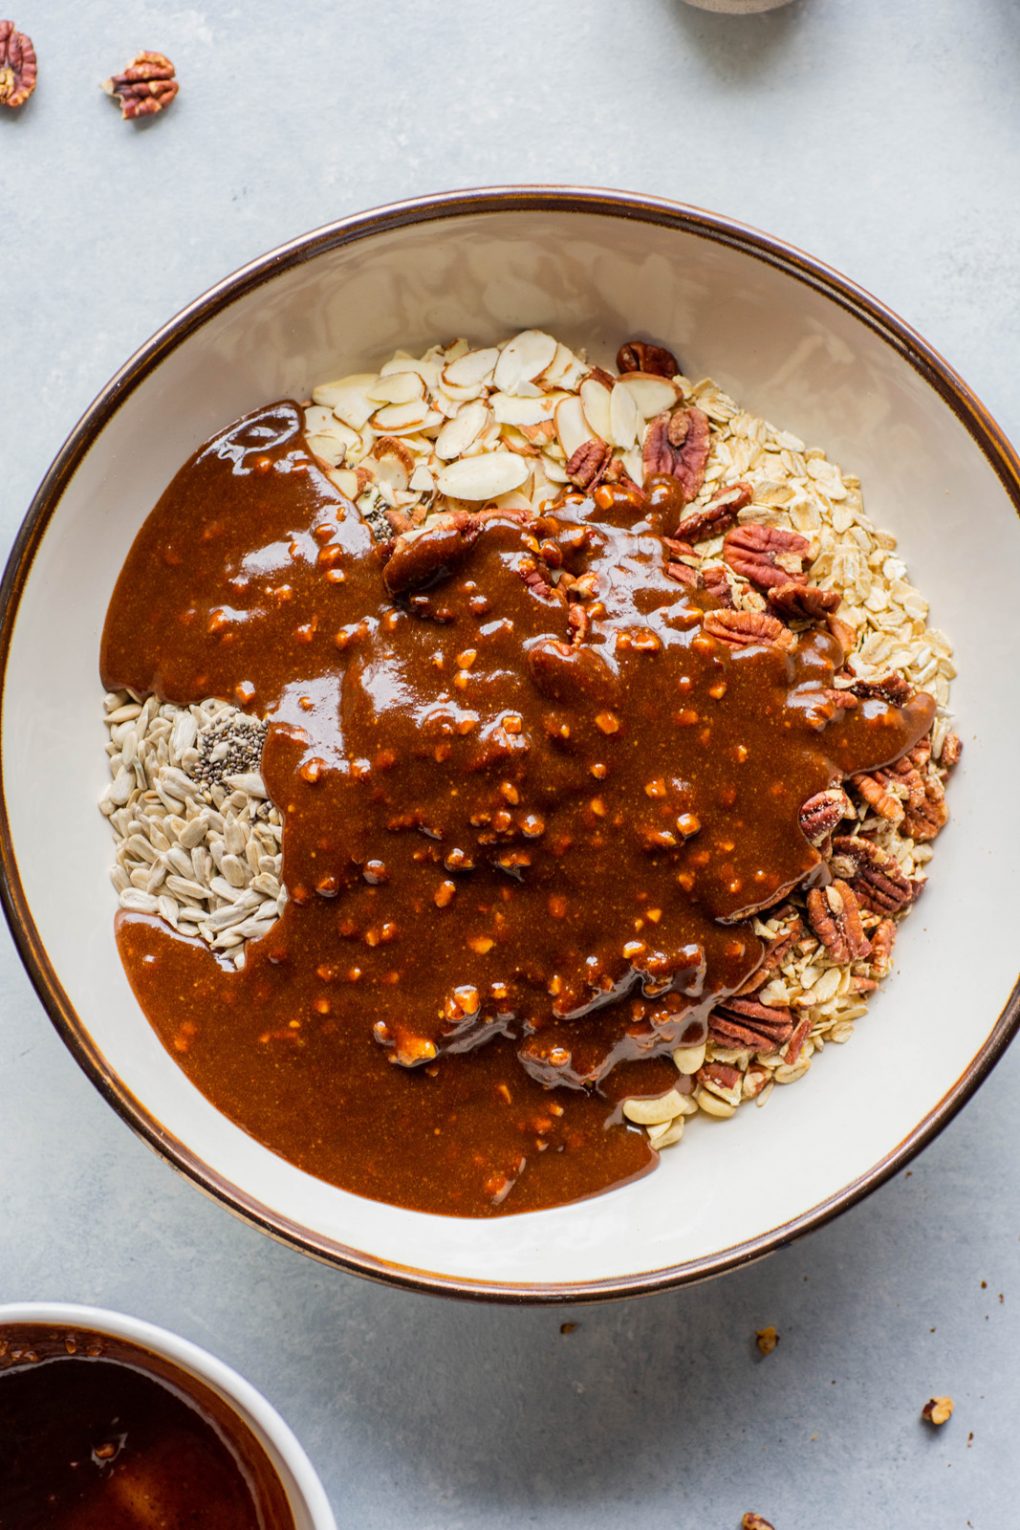
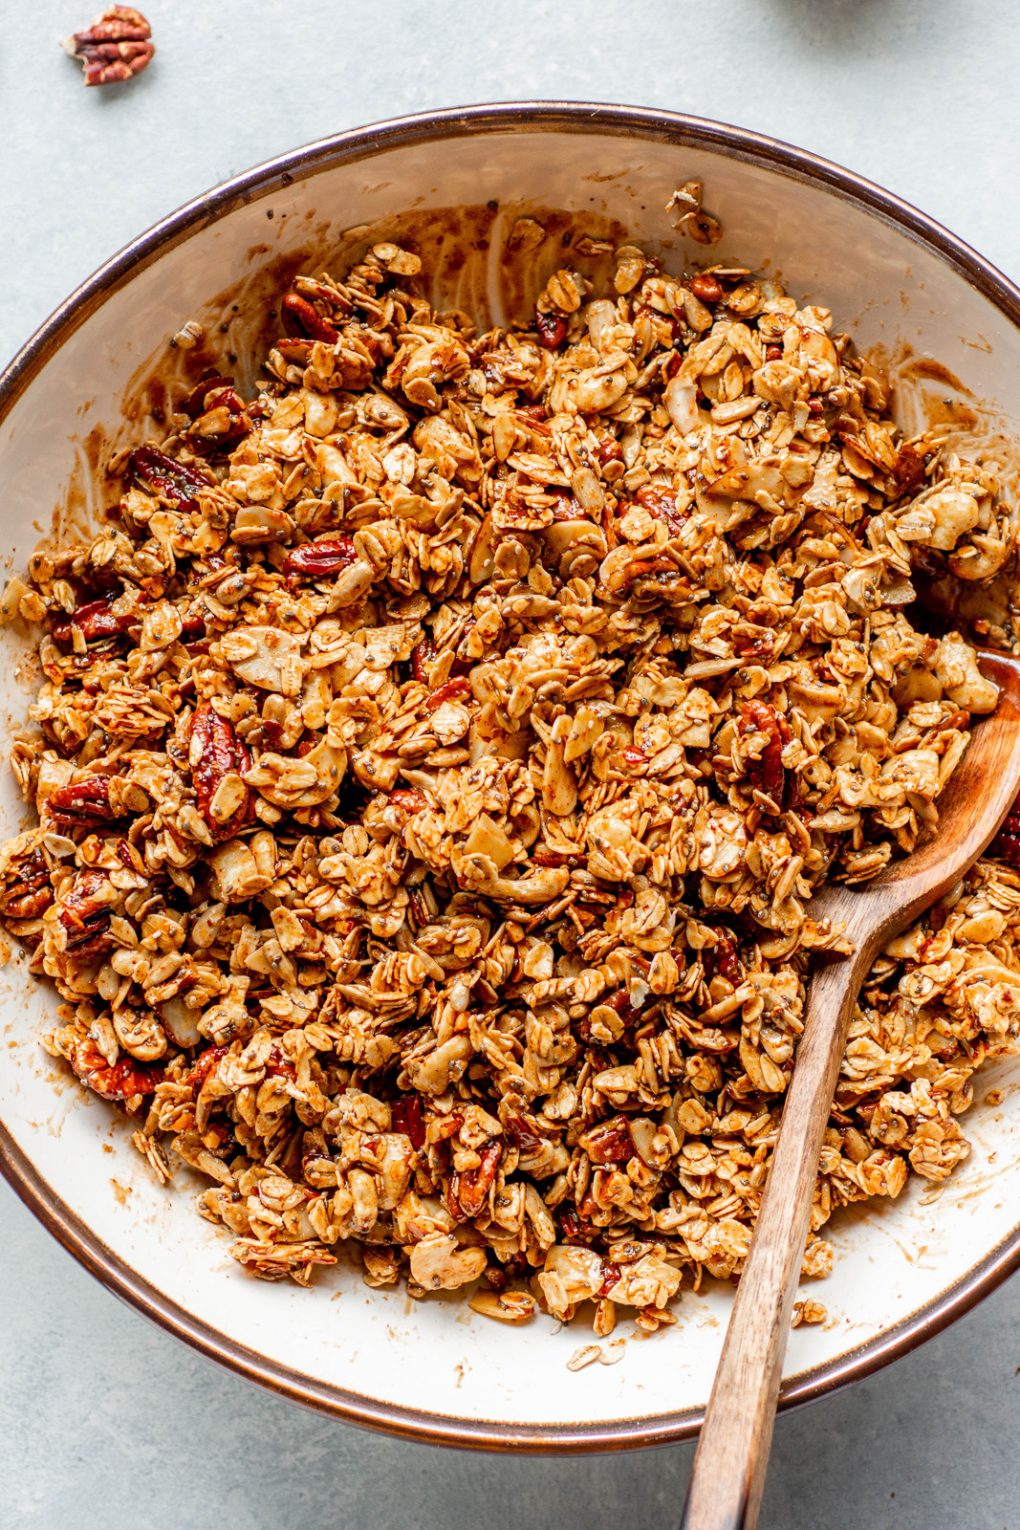
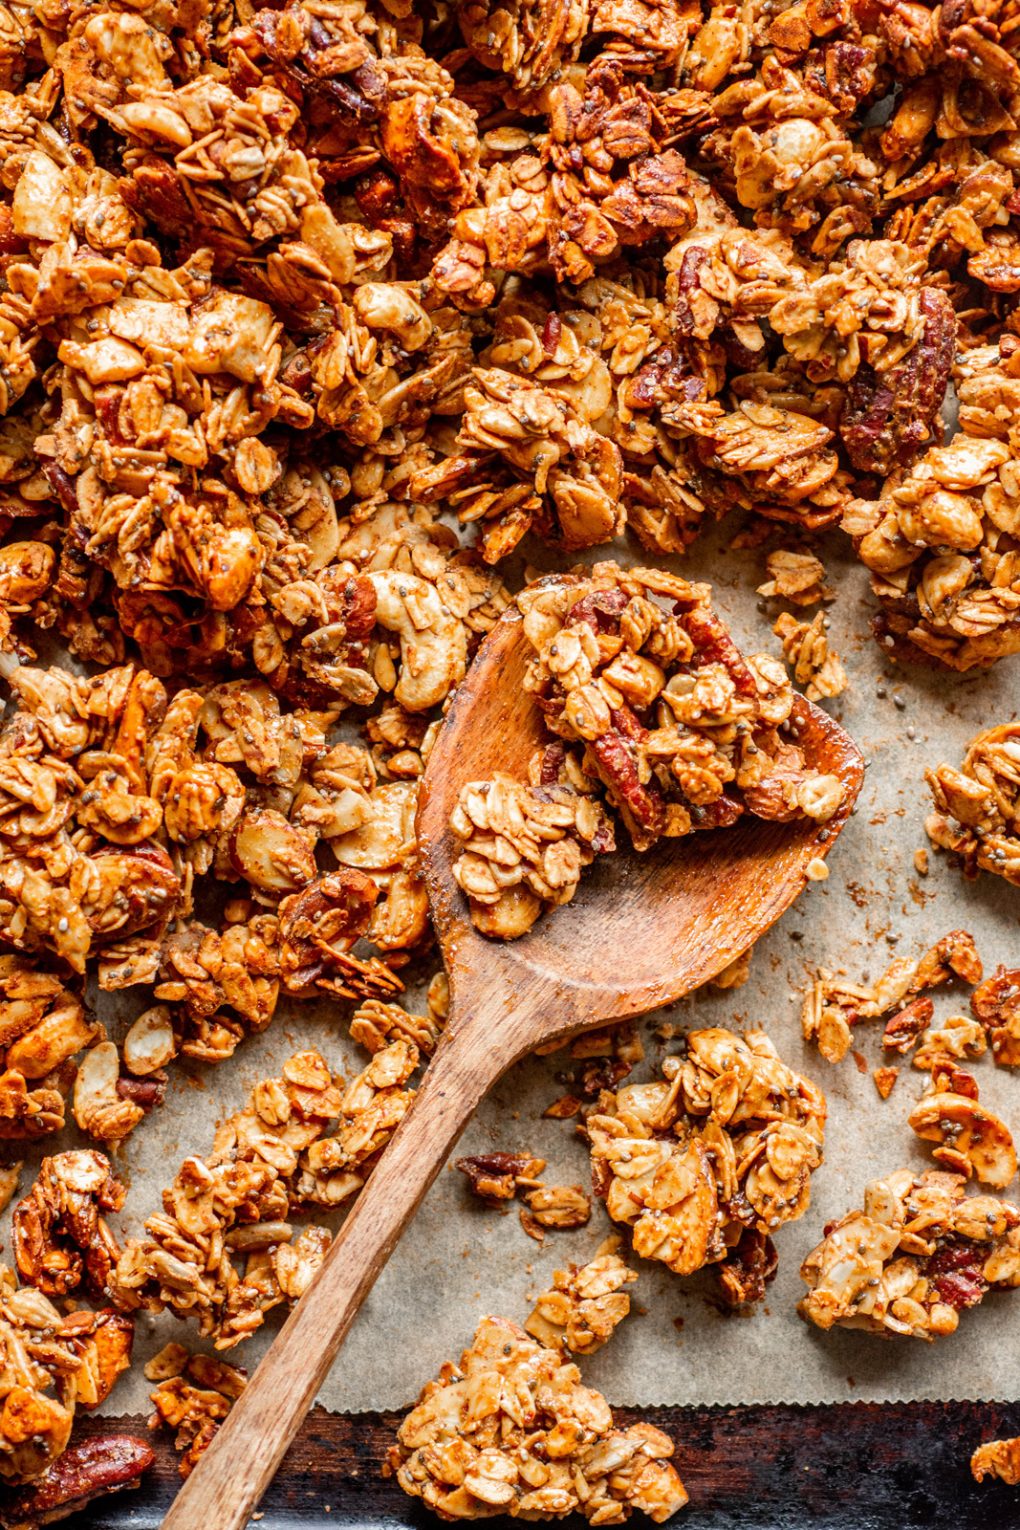
The trick to getting perfect, crunchy granola clusters is using a combination of coconut sugar and maple syrup, and baking the granola at a low temperature without stirring it.
When you press the granola mixture into an even layer and allow it to bake slowly without stirring it around it will bake into one large crunchy layer that you can then break up into pieces before eating or storing for the week ahead.
How to Make
- Line your baking sheet with parchment paper. This prevents the granola from sticking to the pan – a messy situation!
- Preheat the oven to 300 degrees.
- Add all dry ingredients to a large bowl – gluten free oats, sliced almonds, cashew pieces, pecans, and sunflower seeds.
- In a small saucepan combine coconut sugar, nondairy milk, maple syrup, almond butter, sea salt, cinnamon, and vanilla extract. Heat over medium low heat and whisk together as it heats. Once smooth and warm pour over the dry ingredients and stir to thoroughly coat.
- Pour granola out onto parchment lined baking sheet and firmly press into an even 1/2 inch thick layer. If your fingers are sticking to the granola put a little oil on your hands. Move to the oven and bake for about 45-55 minutes – until darkened in color and the edges appear dry. If it seems like it’s getting dark too fast, take the granola out of the oven, lower the heat to 250, and return to the oven once the temp has lowered and continue to bake until done.
- Don’t worry if the center of the granola still seems soft – it will harden and crisp up as it cools. If it’s dry to the touch and golden brown it’s done!
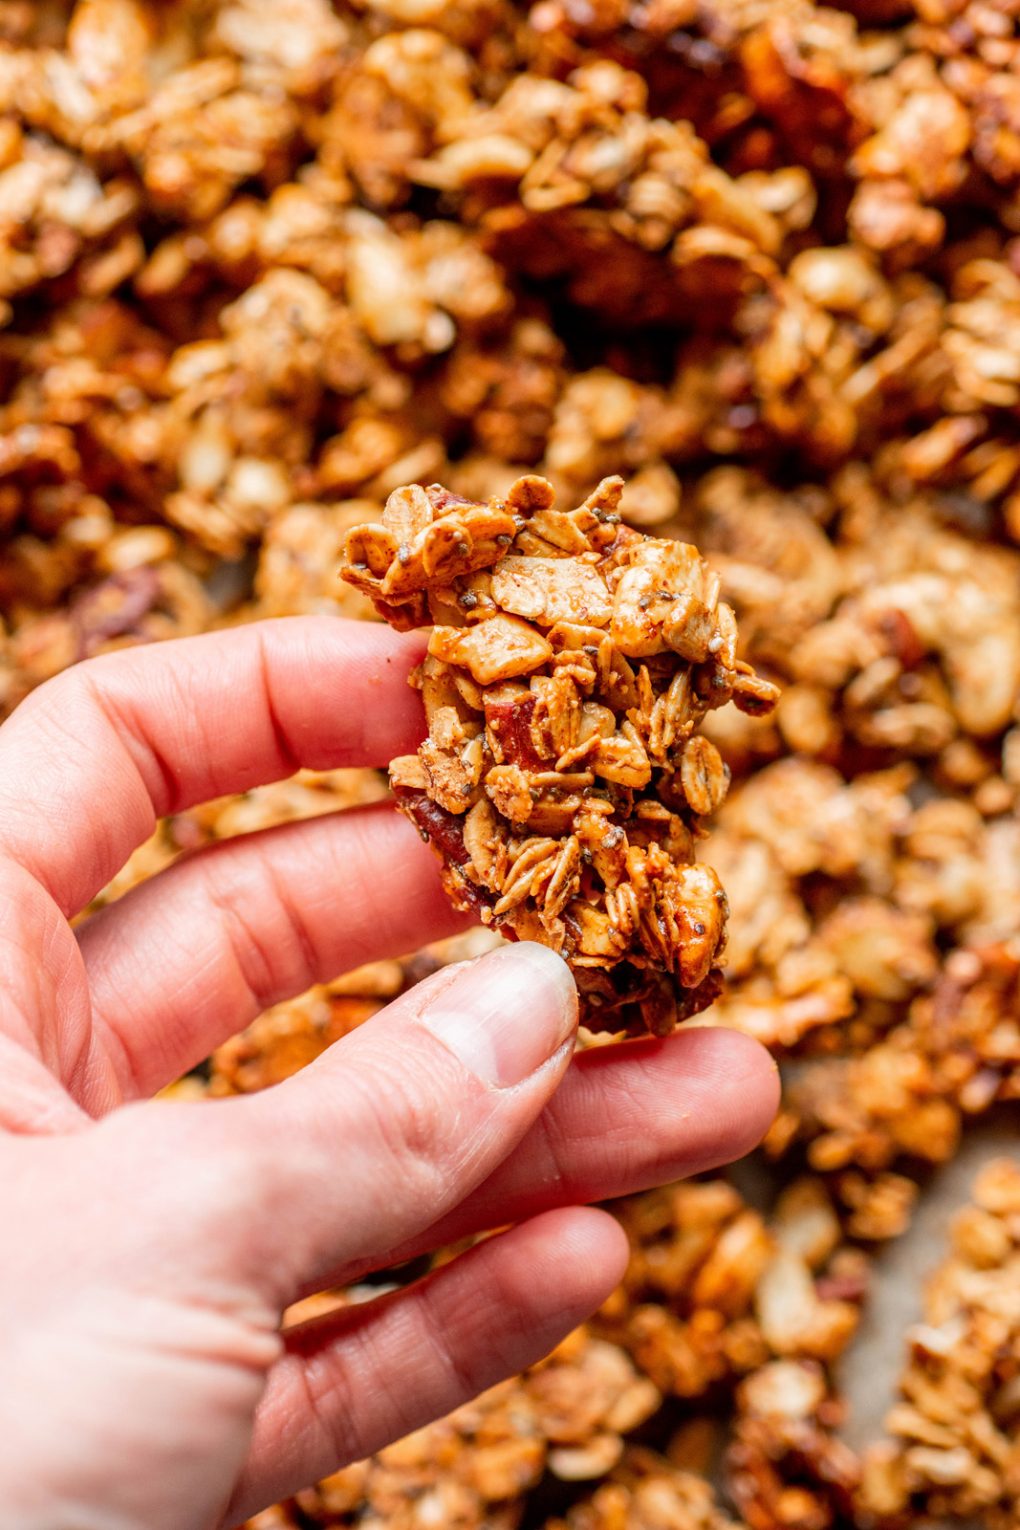
- Remove from the oven and allow to cool completely before breaking into clusters. Store in an airtight container to keep it fresh and crunchy!
How long does homemade granola last?
This granola will keep on the counter in a sealed air tight container for up to a week. You could also store it in the refrigerator to make it last a little longer – maybe a week and a half!
Why isn’t my granola crunchy?
If your granola isn’t crunchy after baking:
Moisture content of nuts, seeds, and oats can vary. If you find that your granola isn’t crunchy after baking it according to the recipe instructions, try baking it a little longer. I would recommend switching to a lower temperature to prevent the ingredients from burning.
An additional 20 minutes or so at 250 degrees is a good place to start. You can extend the baking time from there if needed. Keep in mind that the granola will continue to crisp up once it’s completely cooled.
If your granola isn’t crunchy after sitting on the counter for a few days:
There’s a couple reasons this could be happening.
If your kitchen / home is particularly humid, that can make your granola lose it’s crispiness faster. To fix this you can pop it back in the oven for 20 minutes or so at 250 degrees to dry it out and crisp it up again.
It’s also super important to store homemade granola in a sealed airtight container to keep moisture out and keep it crispy. This is my number one tip for keeping your granola crunchy and fresh!
How to make granola clusters
In order to make granola clusters when you make granola at home, you have to use the right binders, and bake the granola in one pressed down layer.
A lot of granola cluster recipes call for egg whites, but this recipe uses no eggs – which makes it vegan friendly.
My top tips for making granola clusters:
- Before baking, line your baking sheet with parchment paper and firmly press the granola mixture into an even layer.
- Bake the granola at a low temperature so that it has a chance to crisp up and dry out without burning.
- Do not stir the granola while it’s baking! Leaving it in a single, pressed layer will help the ingredients stick together.
- Let the granola cool all the way before breaking it into clusters. Keep in mind that it will continue to crisp up as it cools – aka don’t fret if the middle of your granola seems a little soft when you pull it out of the oven. If it’s dry to the touch and golden brown it’s done!
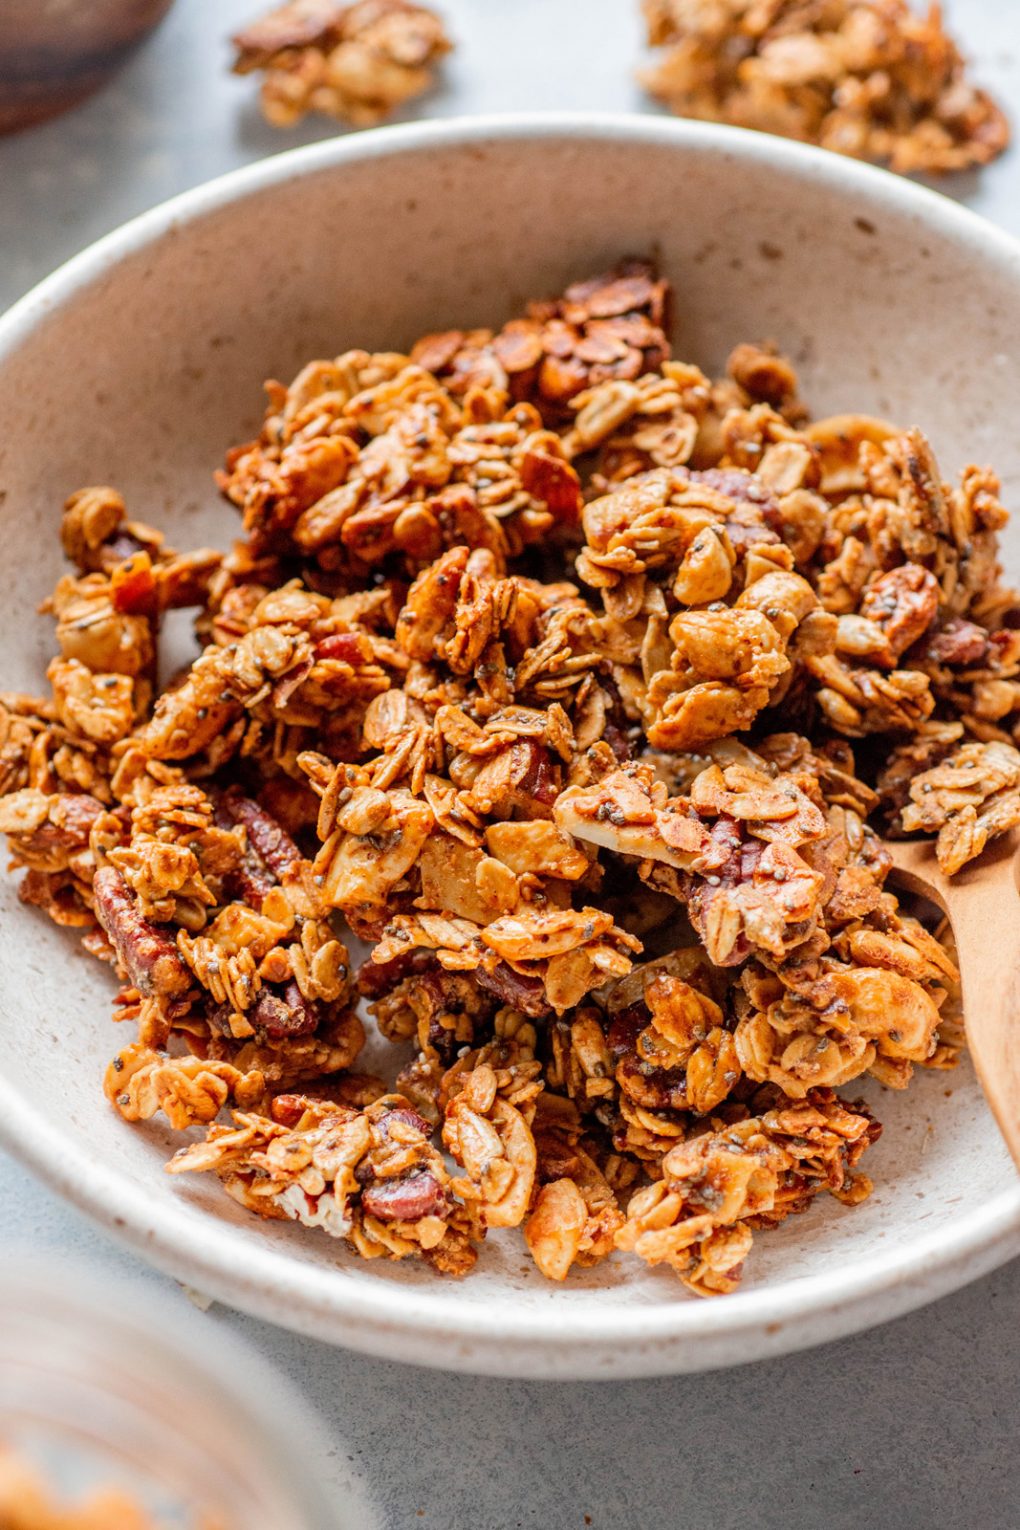
How to eat this homemade granola
- With milk – like cereal
- Sprinkled over yogurt with some fresh berries
- Over some vanilla ice cream with a sprinkle of flaky sea salt, and maybe a few chocolate chips 😉
- On top of your favorite smoothie
If you enjoyed this recipe, we’d love it if you would take 5 seconds to rate and review it below! It’s also super helpful for other readers if you share any modifications you made to the recipe.
Thank you for sharing your kitchen with NK. We’re so grateful you’re here!
Print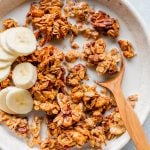
Chunky Gluten Free Granola – Dairy Free!
- Total Time: 55 minutes
- Yield: 7 cups 1x
- Diet: Gluten Free
Description
This recipe for chunky gluten free granola is a delicious homemade granola that’s perfect for quick breakfasts and snacking! Made with gluten free oats, a mix of nuts and seeds, and a vanilla cinnamon scented maple syrup mixture to hold it all together! It is chunky, full of crunchy clusters, and so much better than store bought granola! Gluten free, dairy free, and vegan.
Ingredients
- 2 cups gluten free oats
- 1 cup raw sliced almonds
- 1 cup raw cashews or cashew pieces
- 1 cup raw pecans
- 1/2 cup raw sunflower seeds
- 2 tablespoons flax or chia seeds (optional)
- 1/2 cup coconut sugar
- 1/4 cup non dairy milk
- 1/4 cup maple syrup
- 1/2 cup almond butter
- 1/2 teaspoon sea salt
- 1/2 teaspoon cinnamon
- 1 teaspoon vanilla extract
Instructions
- Preheat oven to 300 degrees and line a baking sheet with parchment paper.
- Add all dry ingredients to a large bowl – gluten free oats, sliced almonds, cashew pieces, pecans, sunflower seeds, and flax or chia seeds if using.
- In a small saucepan combine coconut sugar, nondairy milk, maple syrup, almond butter, sea salt, cinnamon, and vanilla extract. Heat over medium low heat and whisk together as it heats. Once smooth and warm pour over the dry ingredients and stir to thoroughly coat.
- Transfer granola onto parchment lined baking sheet and firmly press into an even 1/2 inch thick layer. If you find the granola is too sticky, lightly grease your hands or a spatula with coconut oil or avocado oil.
- Move to the oven and bake for about 45-55 minutes – until darkened in color and the edges appear dry. If it seems like it’s getting dark too fast (especially around the edges), take the granola out of the oven, lower the heat to 250, and return to the oven once the temp has lowered and continue to bake until done.
- Don’t worry if the center of the granola still seems soft – it will harden and crisp up as it cools. If it’s dry to the touch and golden brown it’s done!
- Remove from the oven and allow to cool completely before breaking into clusters. Store in an airtight container to keep it fresh and crunchy!
Notes
For the best results choose raw nuts and seeds when possible – otherwise you run the risk of already toasted ingredients over baking.
It’s super important to store homemade granola in a sealed airtight container to keep moisture out and keep it crispy. This is my number one tip for keeping your granola crunchy and fresh!
Moisture content of nuts, seeds, and oats can vary. If you find that your granola isn’t crunchy after baking it according to the recipe instructions, try baking it a little longer at a lower temperature so it doesn’t burn – 250 degrees for an additional 10-20 minutes is probably a good place to start.
- Prep Time: 10 minutes
- Cook Time: 45 minutes
- Category: Breakfast
- Method: Oven
- Cuisine: American



Casey says
I bet this would be good with dried apples in it
Nyssa Tanner says
It would absolutely be good with dried apples! Love that idea!